Thought I’d make a dedicated post for this one so that users can share their experiences with this specific repair. Please see below my rough documentation for repairing the Denon Prime 4 - Channel Fader.
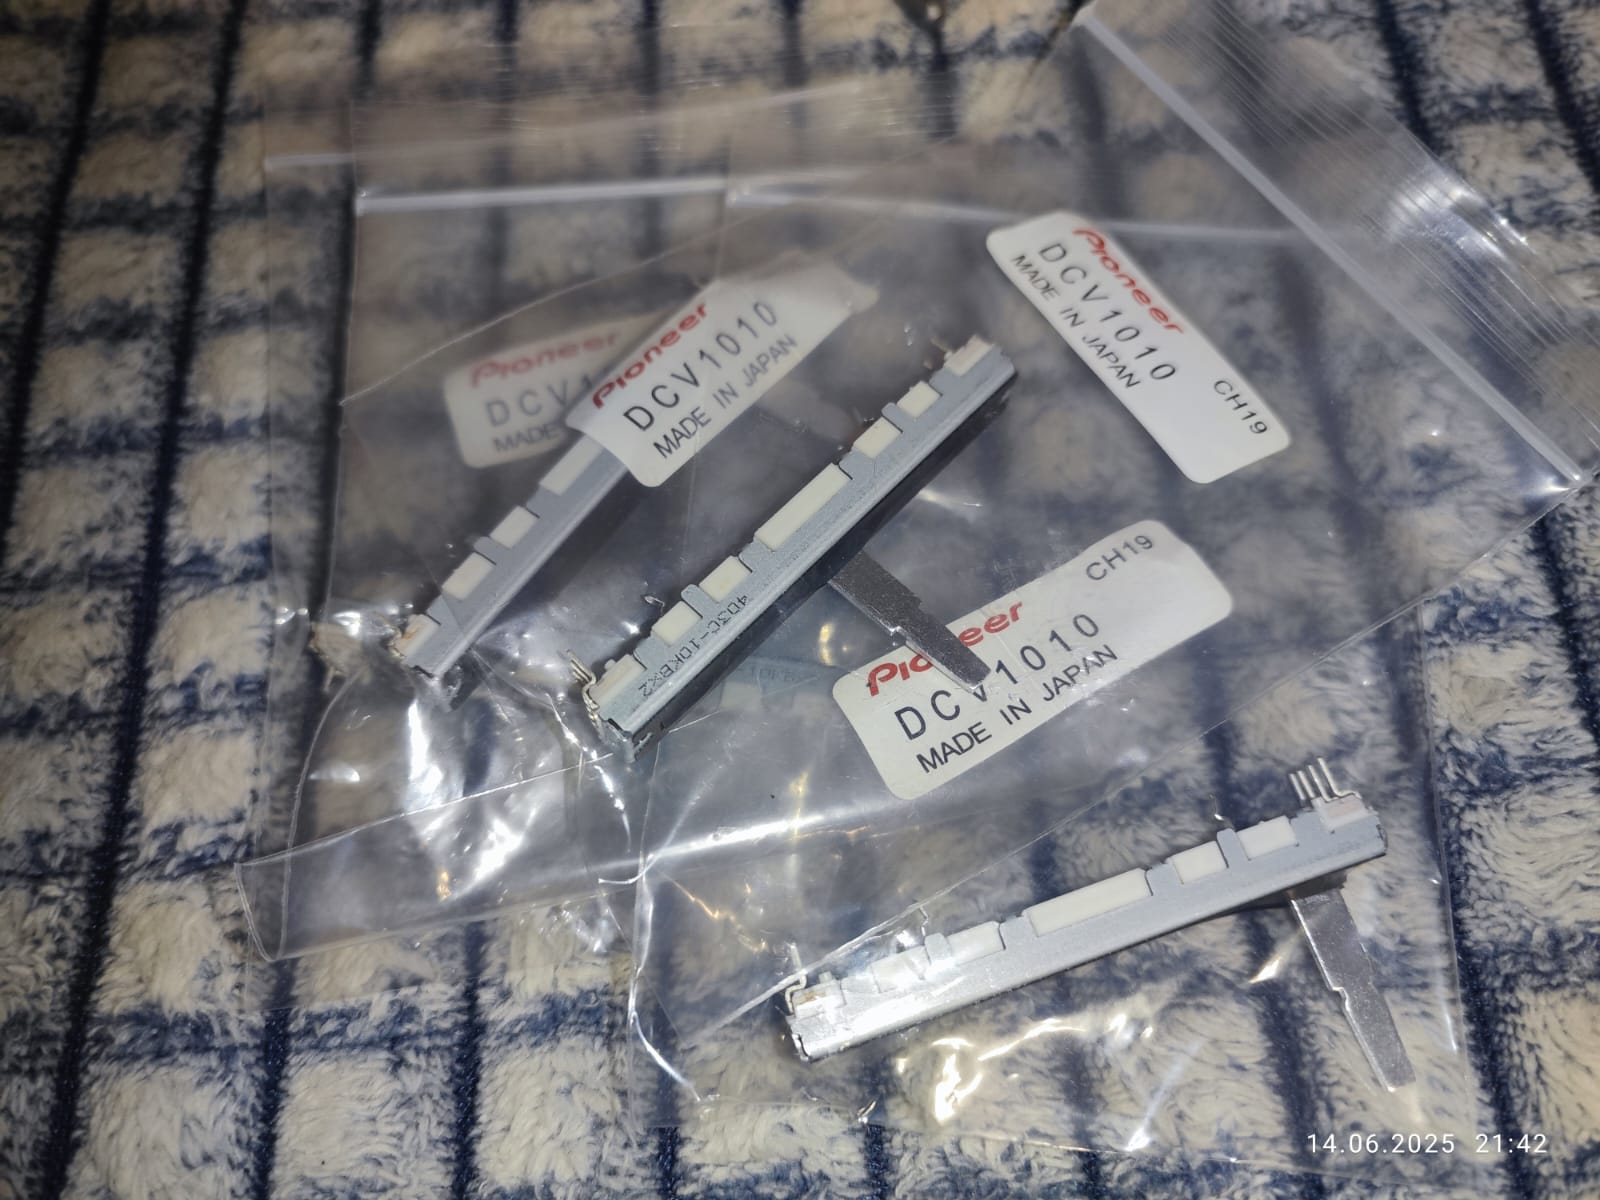
Parts Required - SLIDE POT, GAIN/CROSSFADER - AL0-09-0057
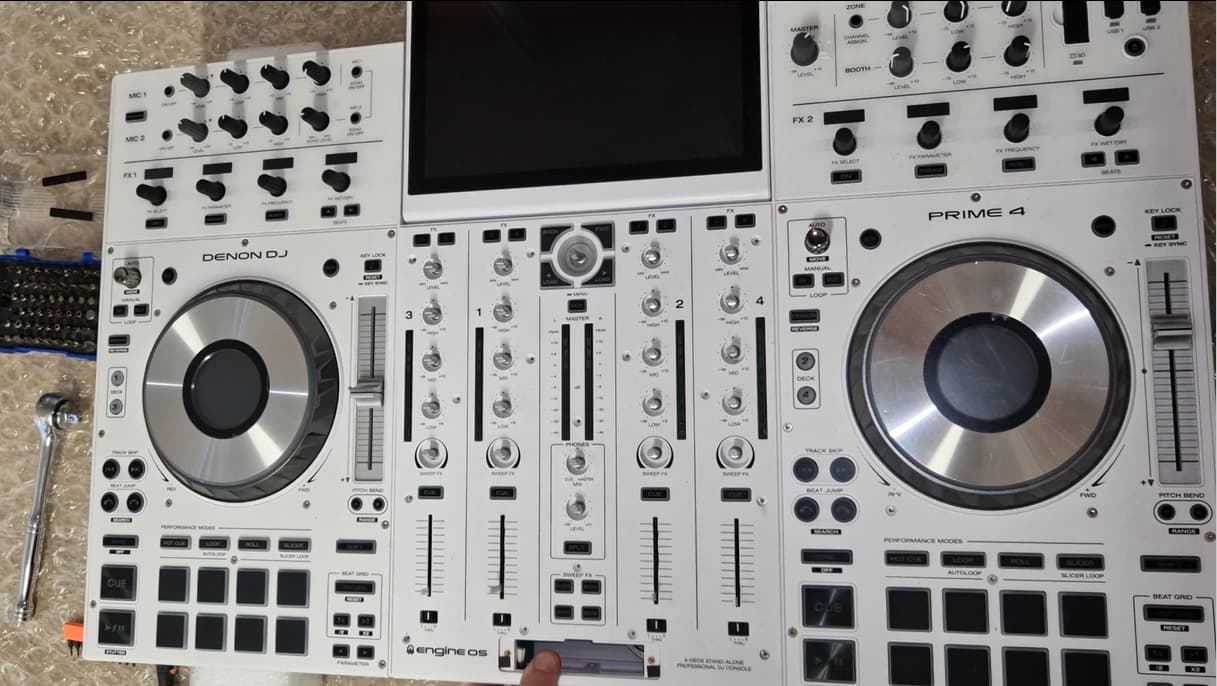
Remove all knobs and fader caps from mixer, remove any nuts (10ml socket piece), including the gold one on Browser Knob. Also remove the crossfader and unplug the cable. Remove the screws from along the front of device, in the images I have removed the screws from mixer faceplate but I do not believe this is required.
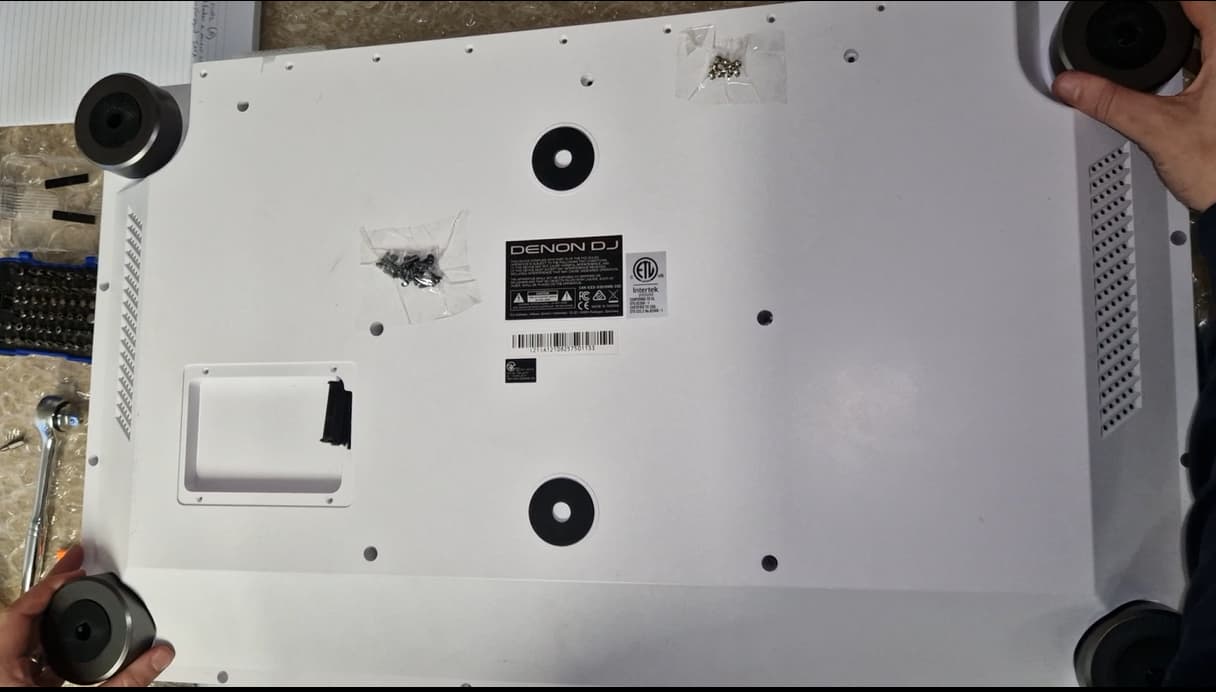
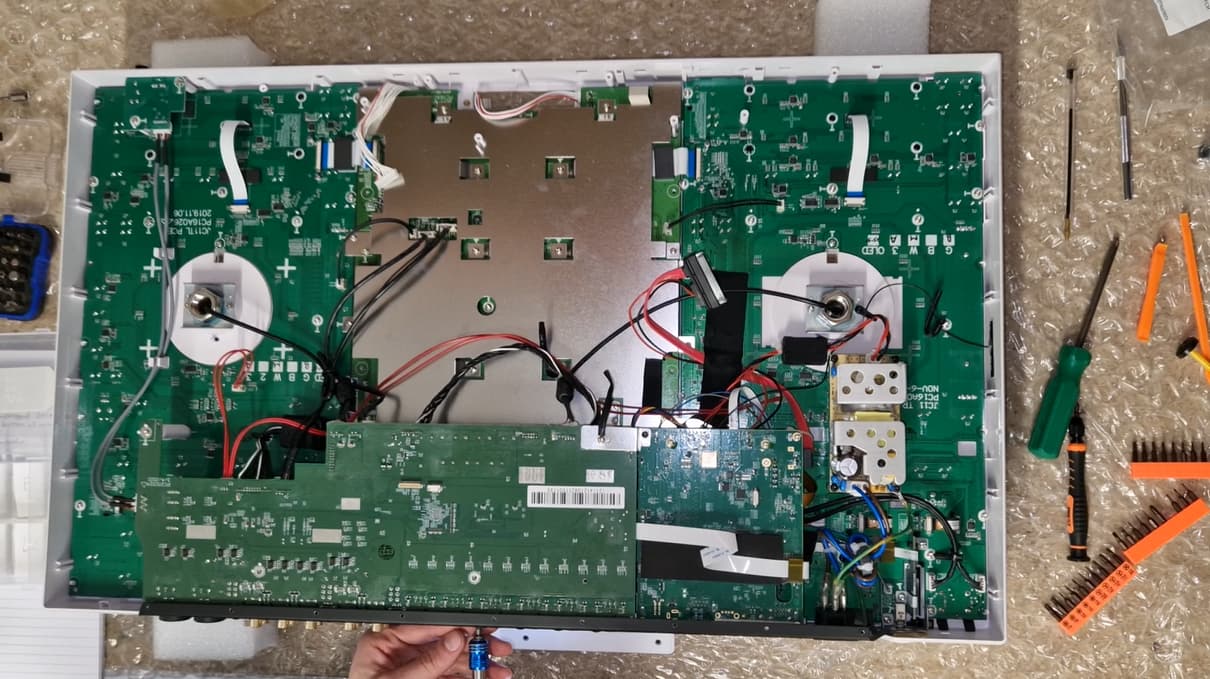
Turn the P4 over and remove all of the screws apart from the screws holding the feet on. Remove SSD if you have one attached and push the cable through the gap. You should now be able to safely remove the bottom cover of the P4 exposing the inside.
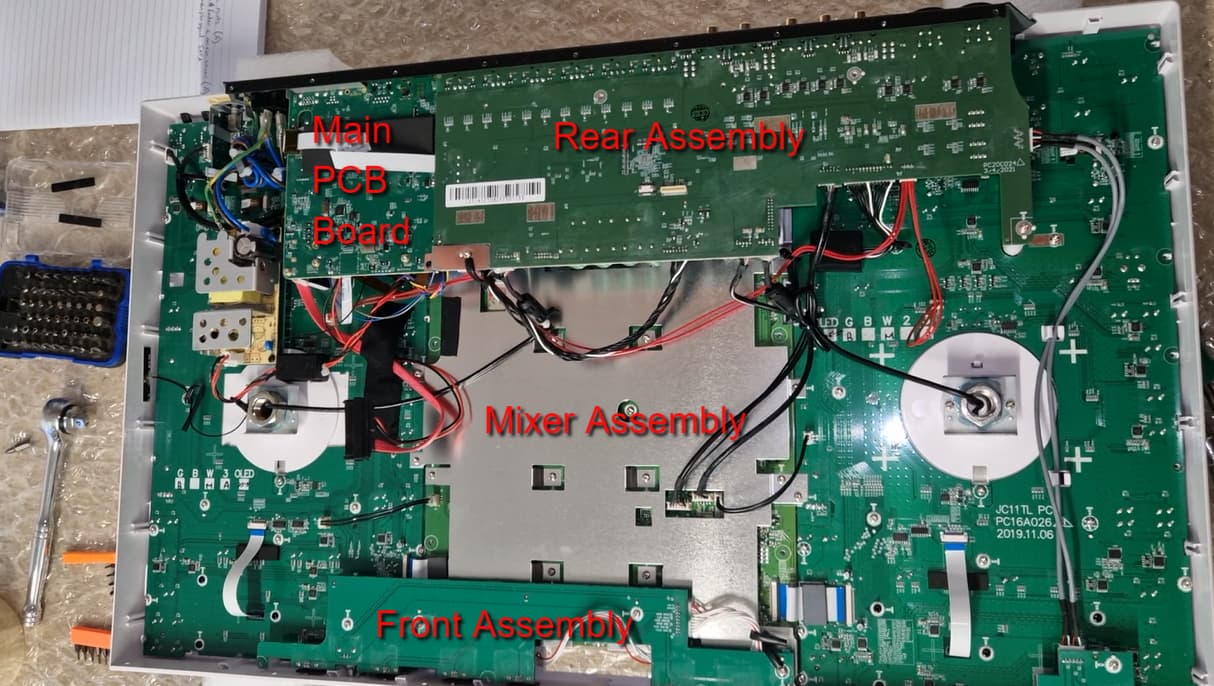
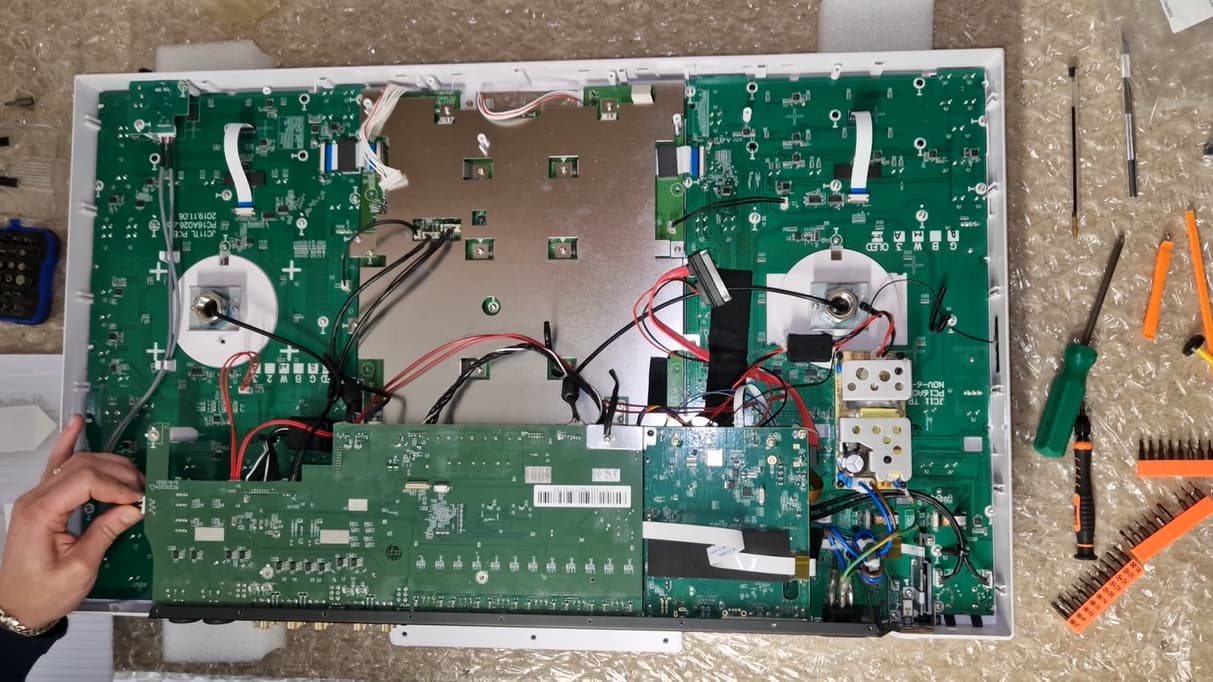
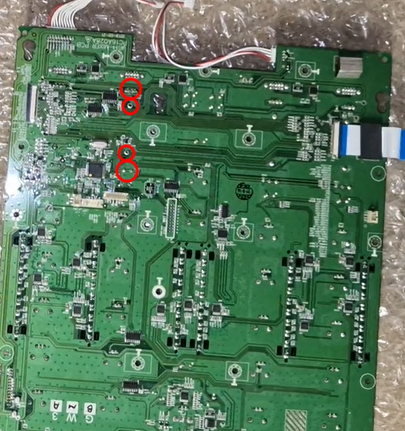
Please see diagram here to help you distinguish what parts I am referring to. From this point my plan of action was to remove as little as possible to get the mixer PCB out.
Remove the crossfader knob from front assembly. Remove cable that connects Front Assembly. Remove all screws holding front assembly in place and then remove front assembly from device.
Turn the unit around and remove all of the screws from the back of device that attach to rear assembly. You will also need to remove the grounding point, there’s a screw on the inside of unit that you will need to use to help you remove.
Remove cable from Rear Assembly that attaches to headphone assembly.
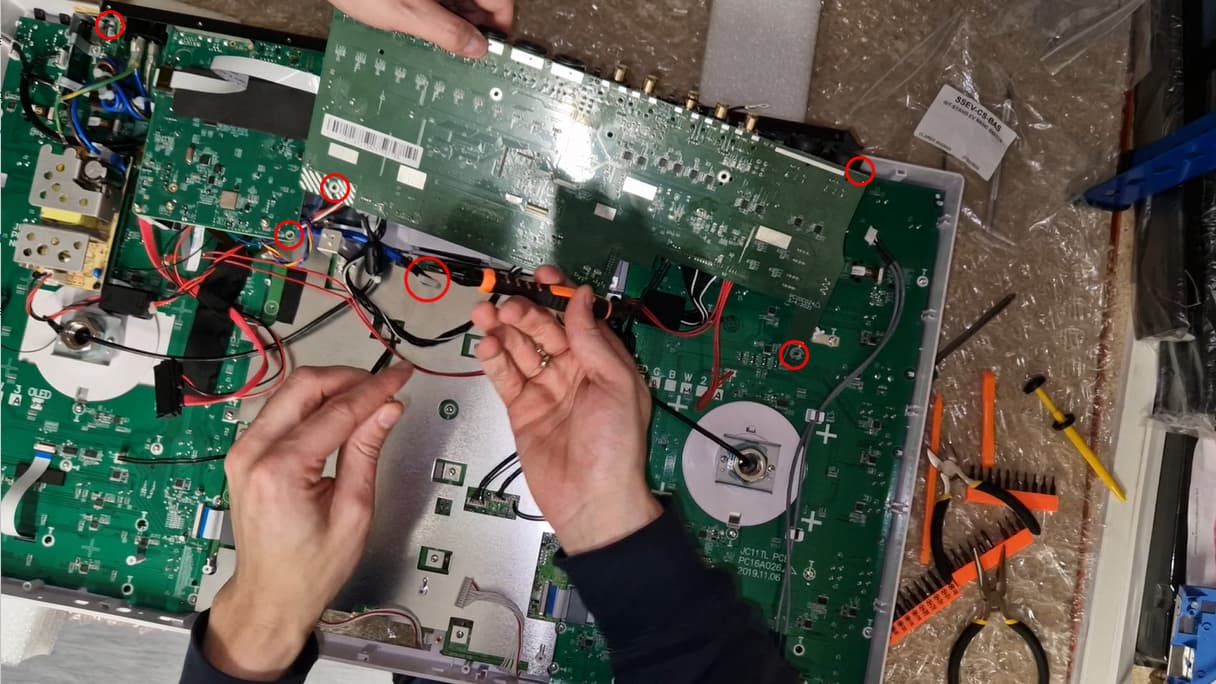
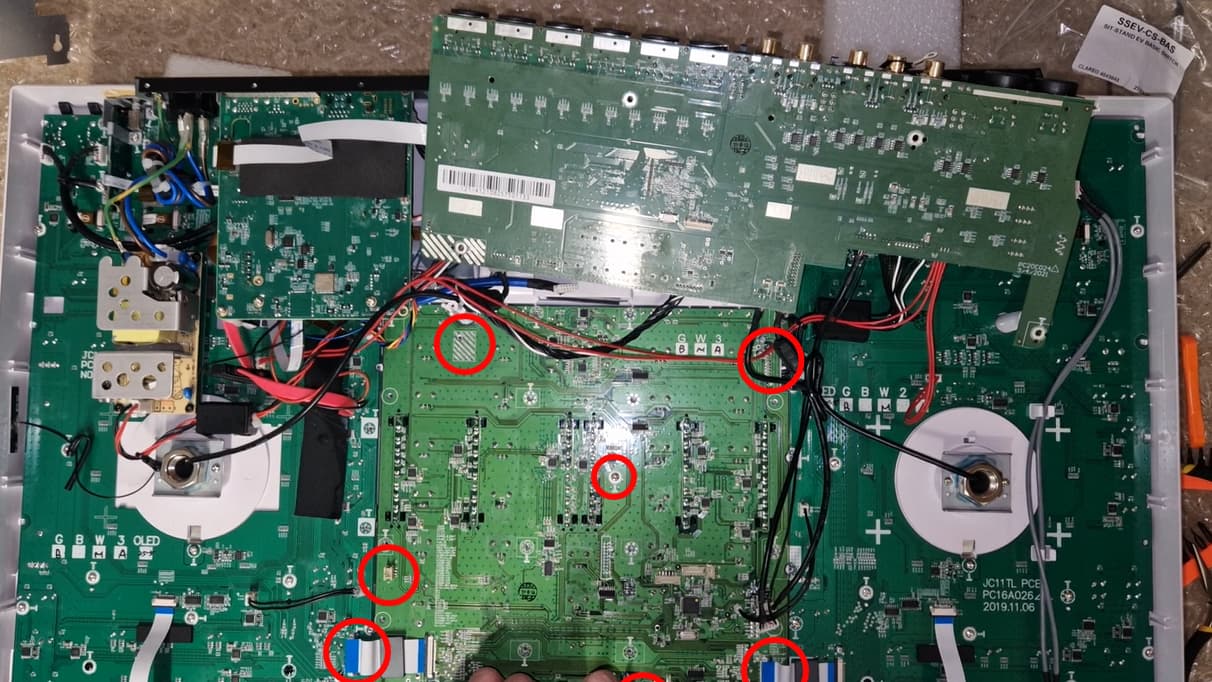
I didn’t get a good video of the next part as I ran out of space but I’ve found an image that hopefull shows you want you want to achieve and I’ve marked out the prime points of removal.
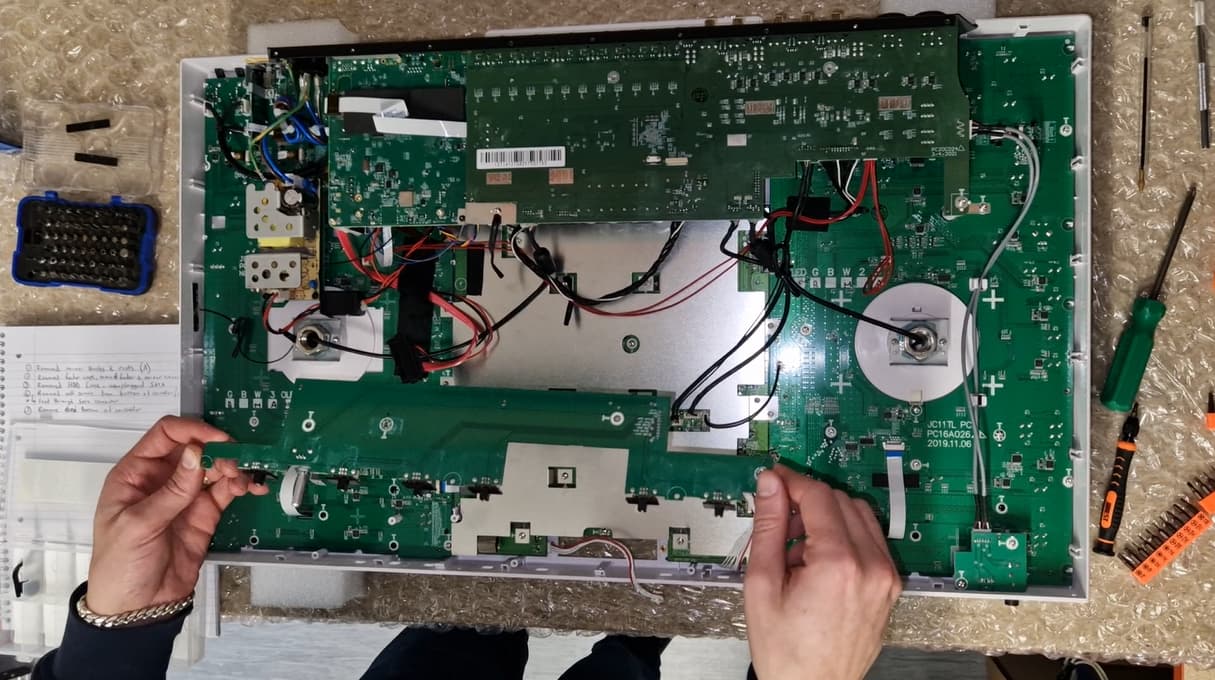
Remove the two screws from black metal casing at back of rear assembly, this needs to move to get rear assembly away. Remove the blue cable from Rear Assembly as seen in image, this was gummed on to mine so I had to carefully remove this, take your time. Remove screws attaching Rear Assembly to main unit. I also removed the metal bridge between the Main PCB and Rear Assembly. One thing you may also need to do is snip the cable tie to the right hand side of rear assembly, I have not shown this in picture but you’ll find it easy enough when you try to move the PCB board. Really here you just want to be able to move the Rear Assembly up on to it’s edge so that you can get to the screws for the metal casing on the Mixer Assembly.
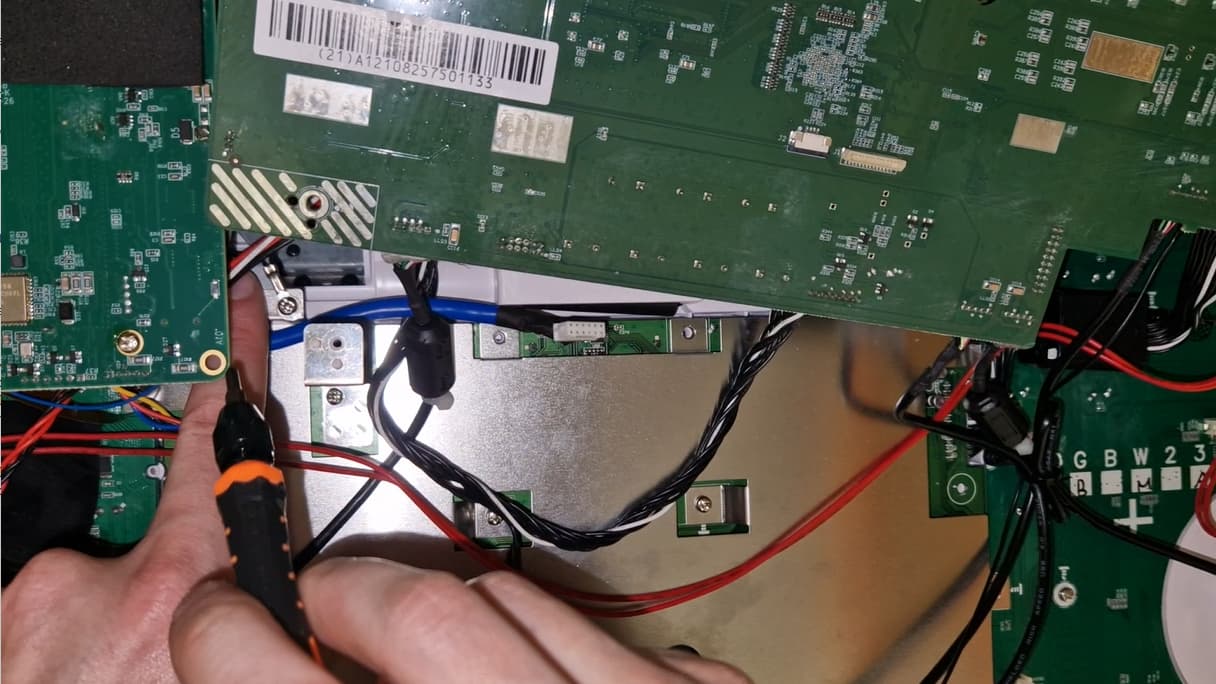
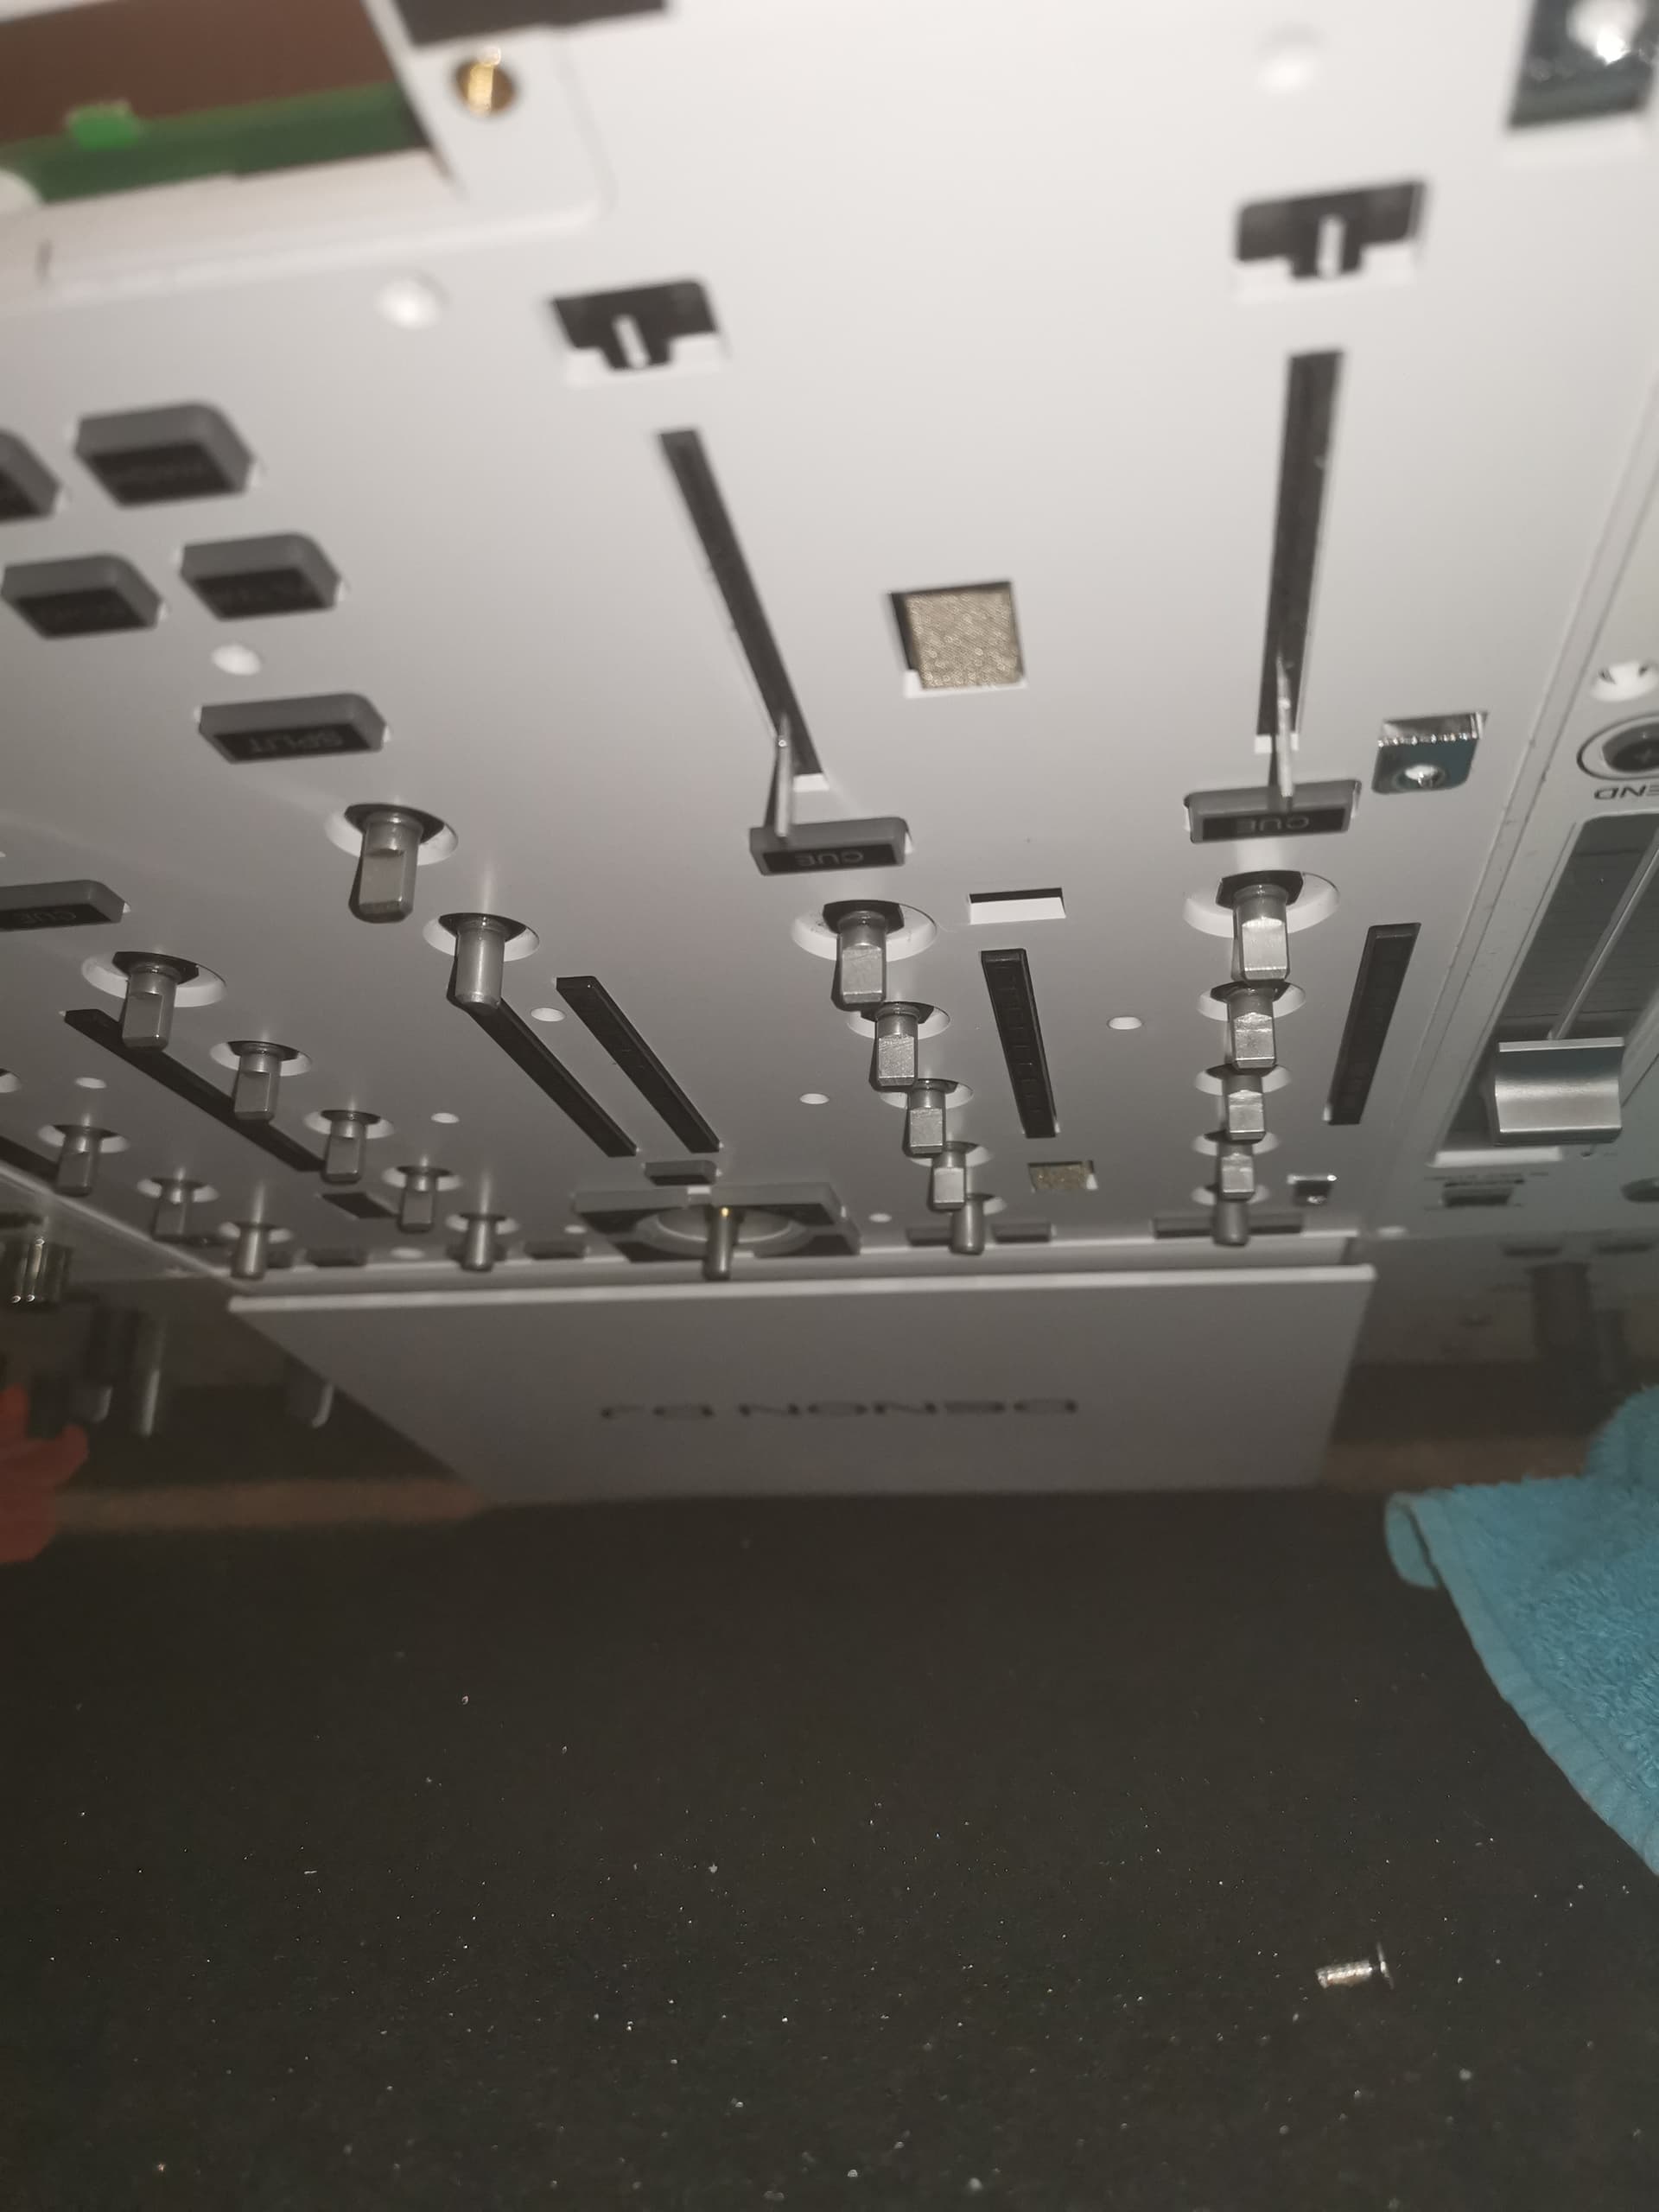
Remove all screws from the metal casing protecting the Mixer Assembly, there is a couple under the Main PCB that I managed to remove with my screwdriver at an angle to avoid having to remove the whole board to get access. Take note of where the grounding cable attaches and the two cable tidies. Remove the 3 black cables attached to the centre of the mixer assembly. Remove the Metal Casing from the Mixer Assembly.
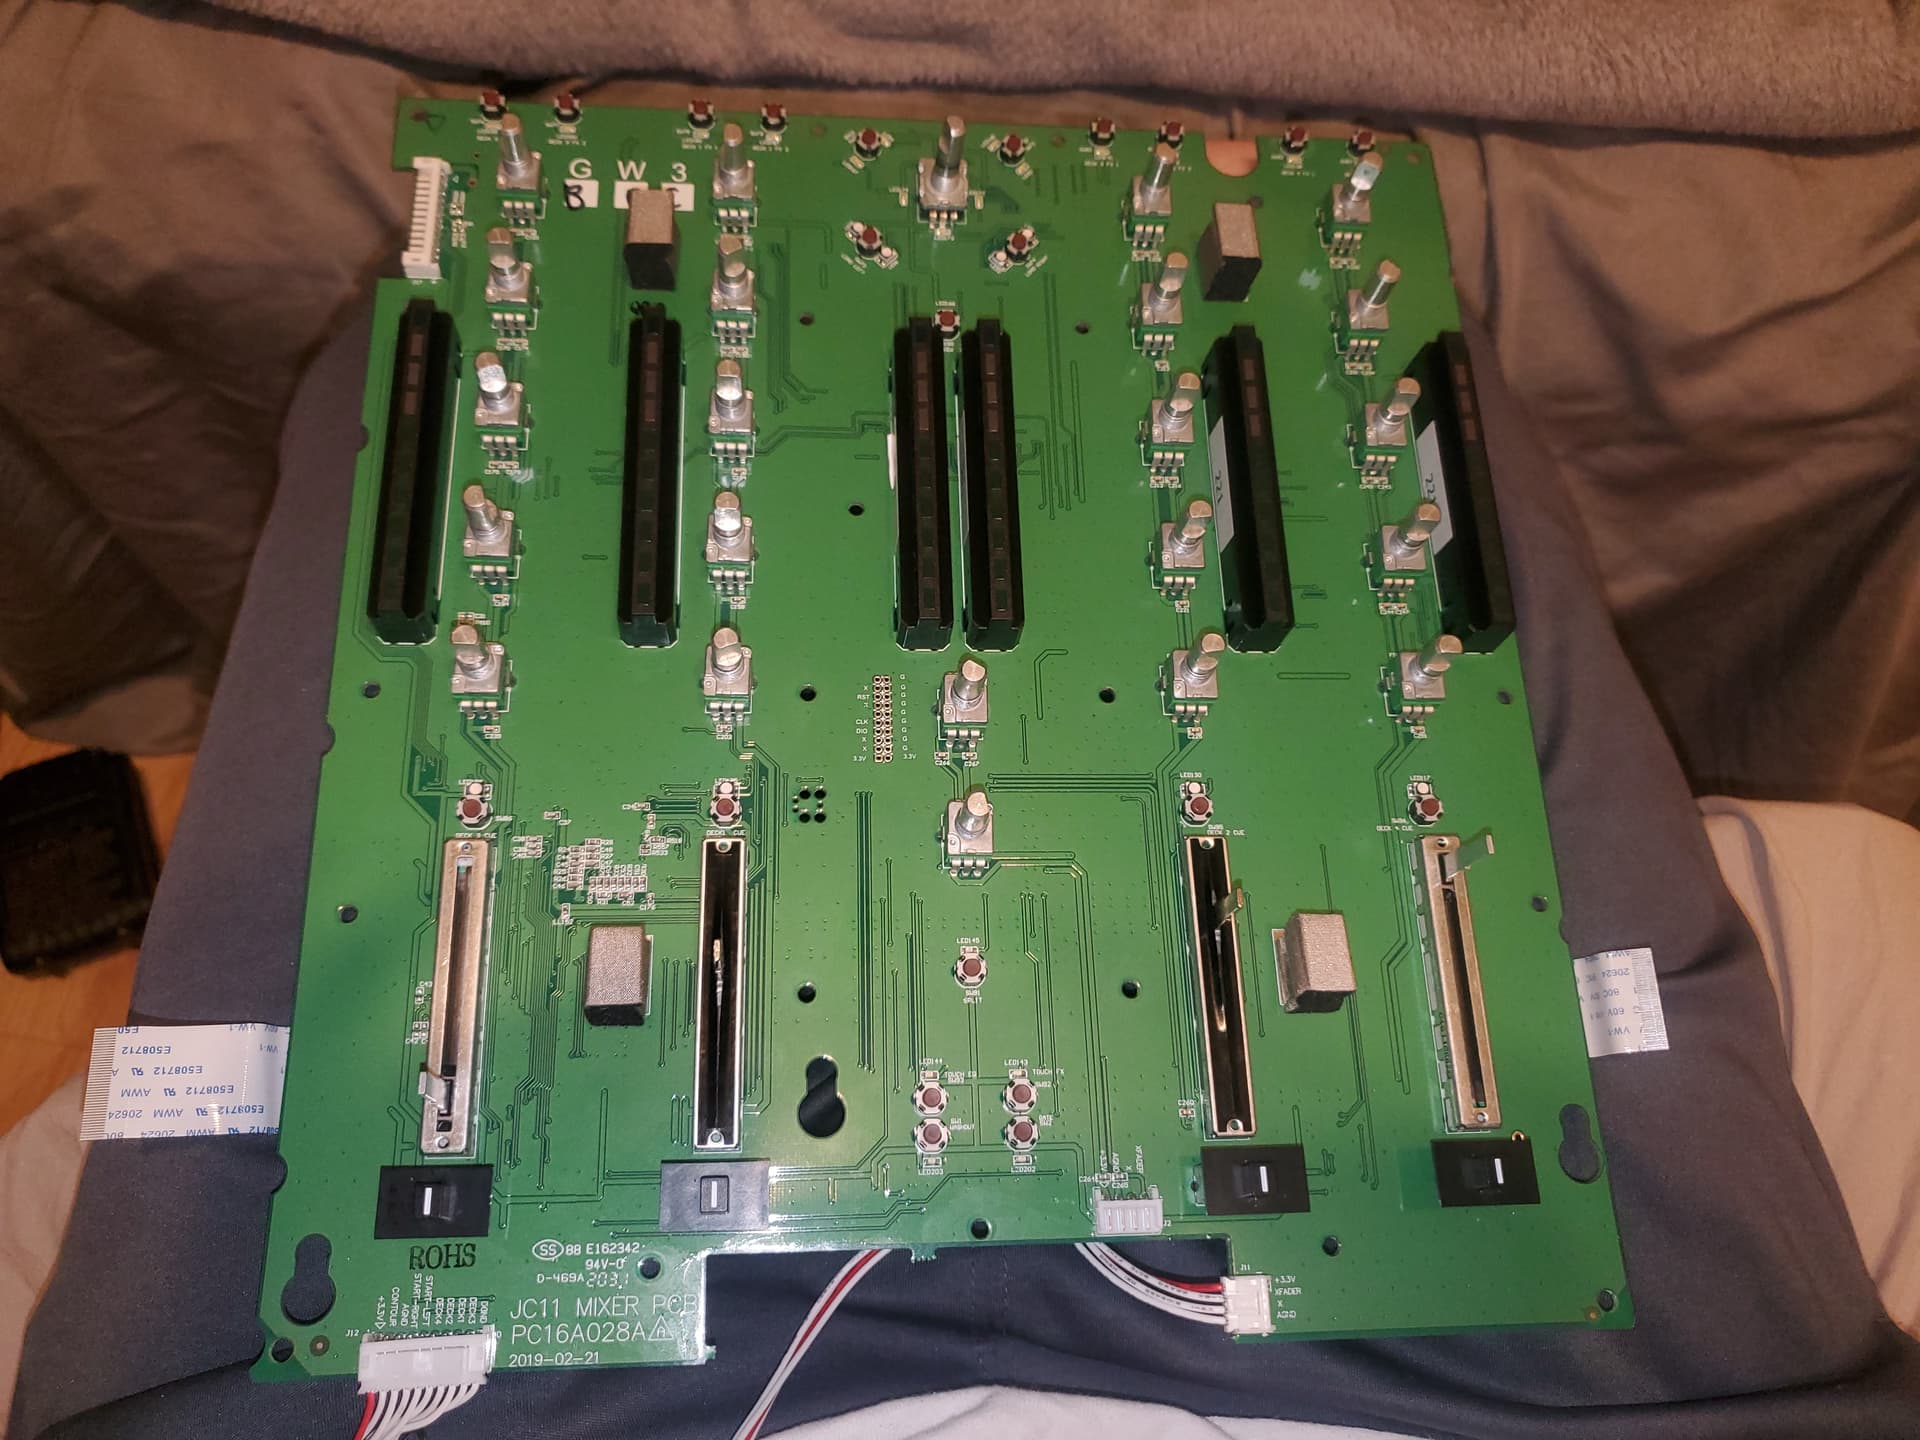
Remove the two ribbon cables on the Mixer Assembly, detach where the cable folds up to make it easier to get these back in. Remove the black cable just above the left ribbon. Remove the white leg and any screws holding the Mixer Assembly in place. Once the board is free, gently lift it out and then remove the main cable at the top right hand side of the image. You should now have the Mixer Assembly free to work on.
From this point I never got any good footage which is annoying because it’s the main part but I can describe what I had to do.
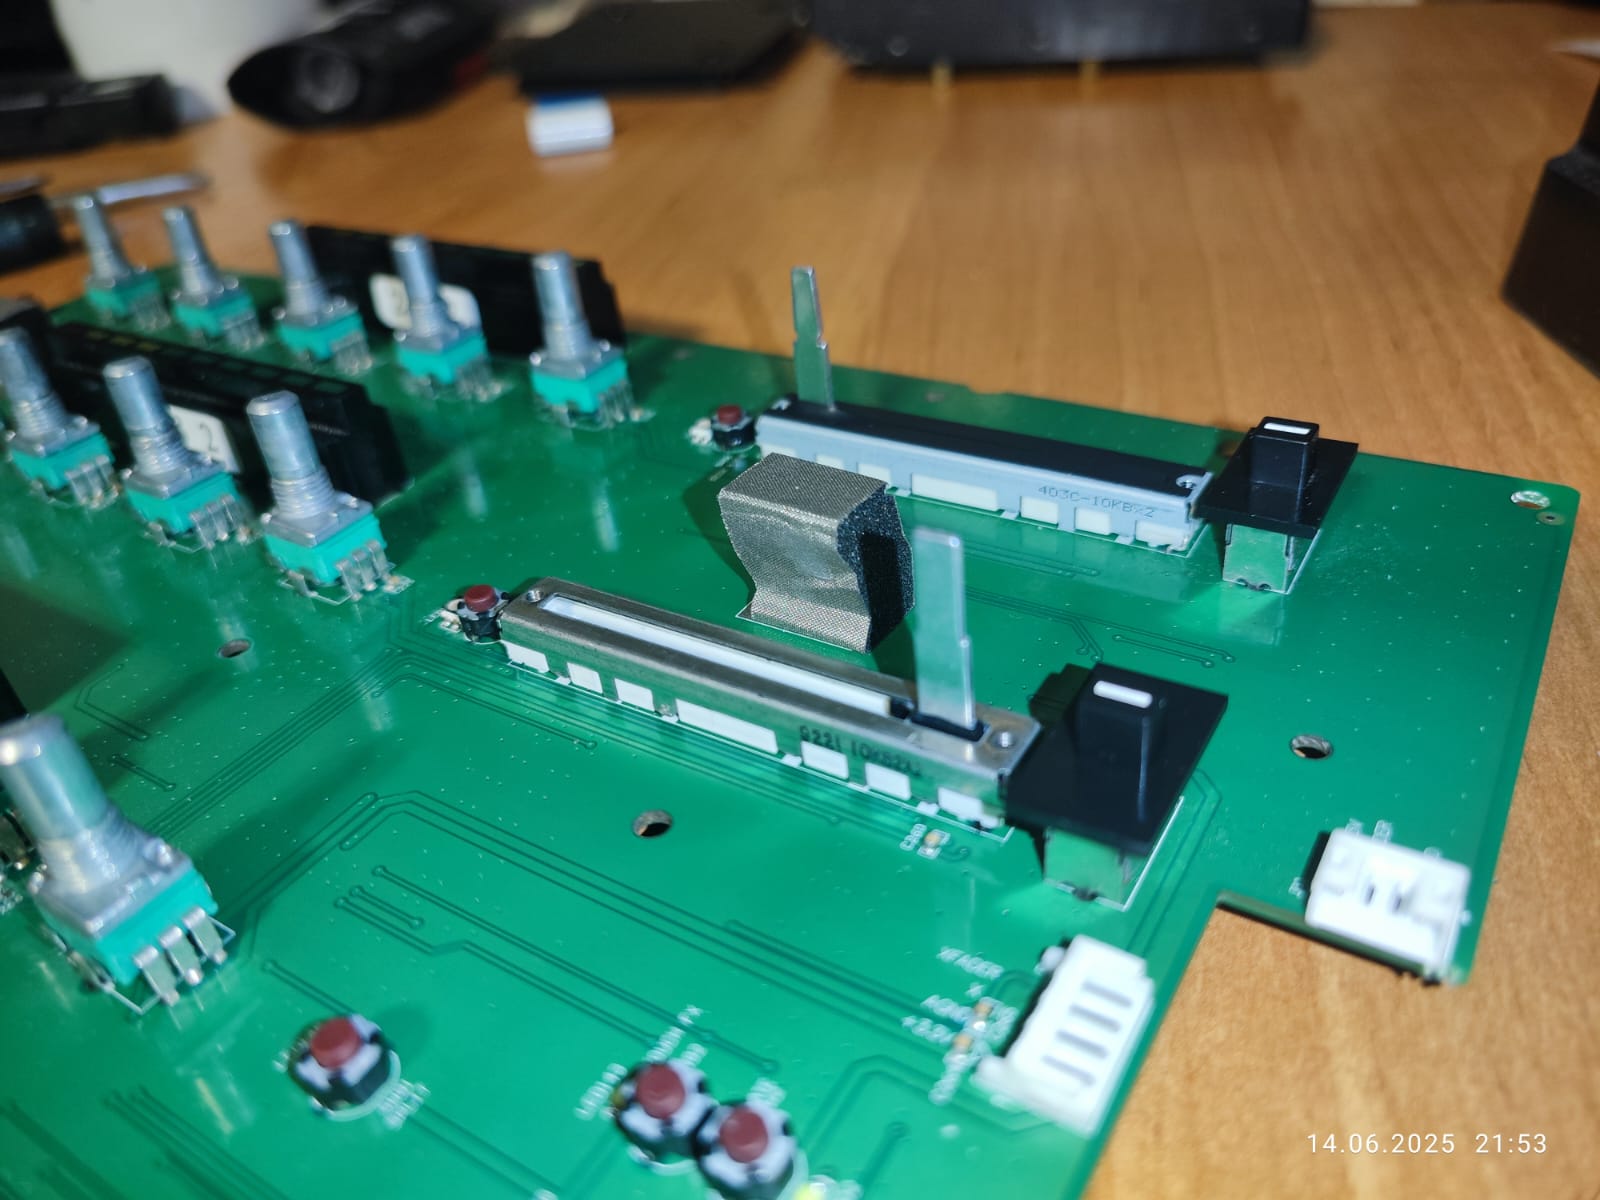
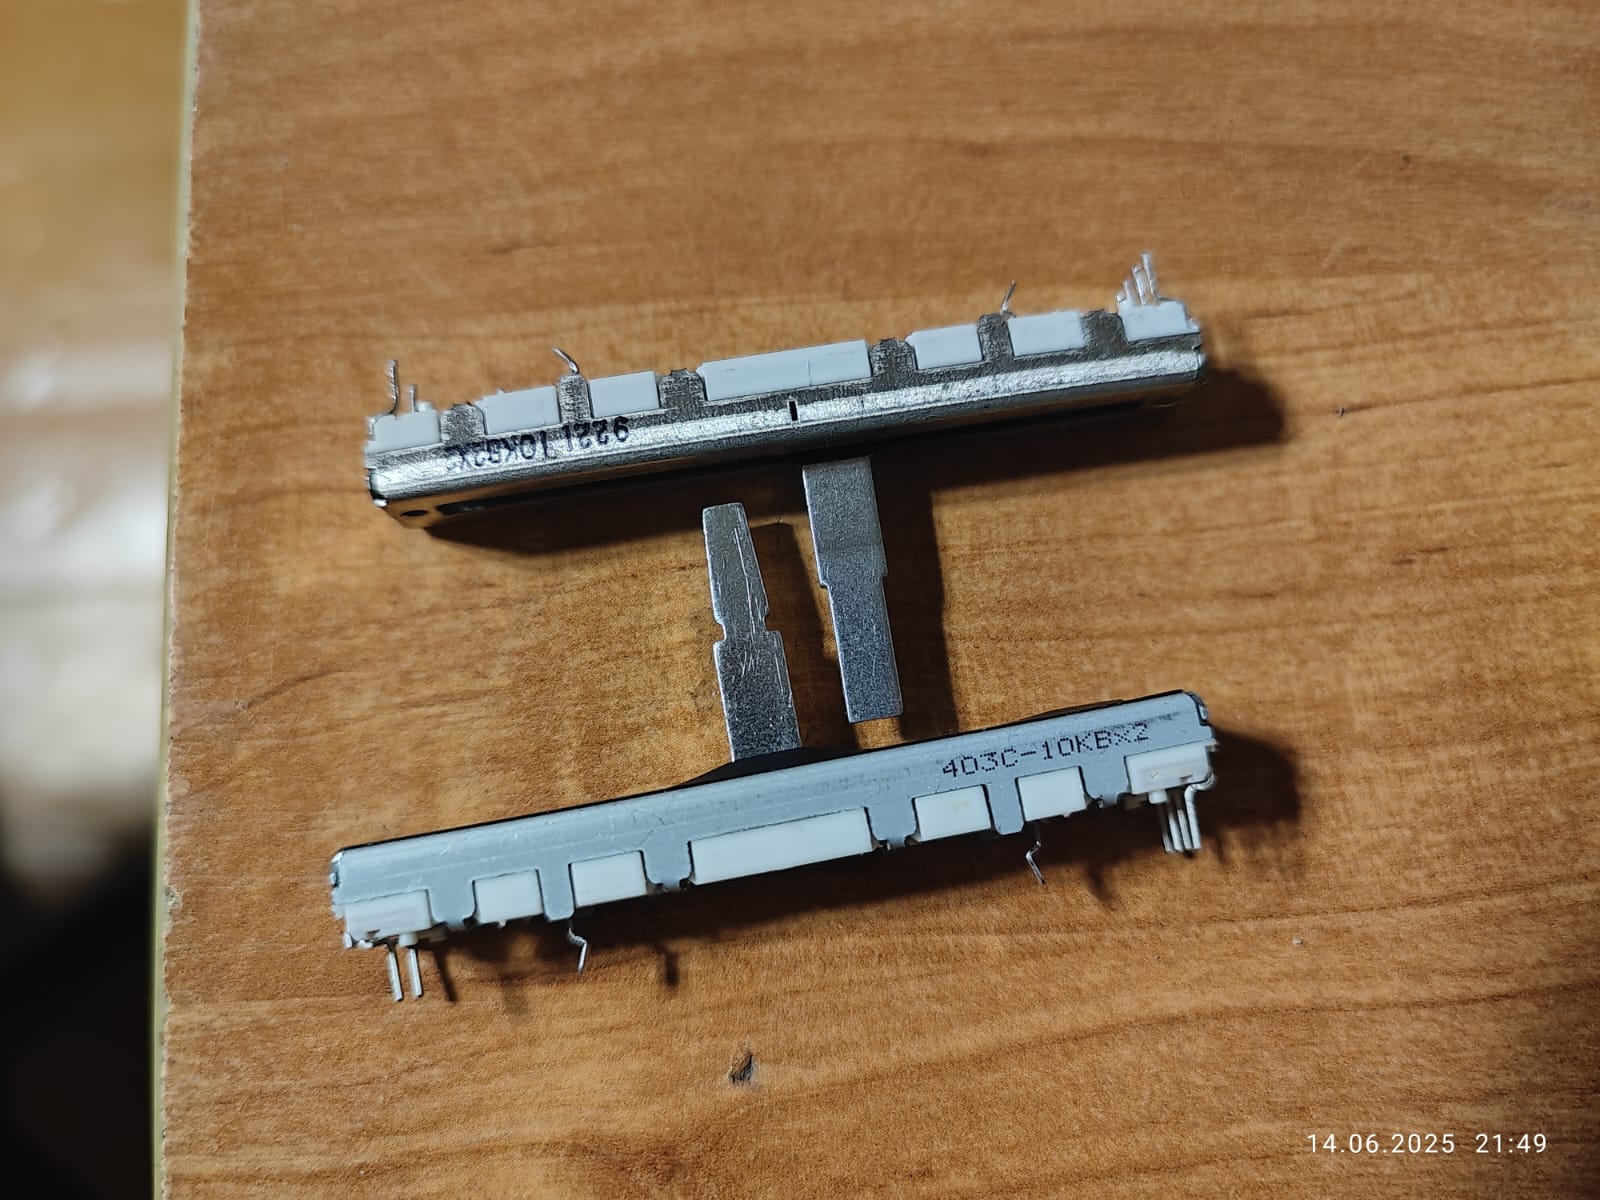
As you can see from the front view of my Mixer Assembly, I’m missing a channel fader! Next image, you probably can’t see but I still have 6 of the legs attached, the two in the middle are empty (most likey the cause of channel fader coming loose, not enough solder holding it in place). You now want to use your solder iron to remove the legs and solder that are still in the board, I used a solder pump to remove the solder once it was heated.
You can now place the new channel fader in the empty space, the legs should fit the matching holes and it should be firmly against the board. It’s firm enough that you don’t need to hold the compononent in or bend the legs to keep it in place. You now want to take your time and solder all 8 legs on to the board, make sure not to have any of the solder points connected. I had no experience soldering and managed this first time, watch some videos on Youtube and practice on a seperate board if you don’t feel confident. Attached images shows legs now soldered in.
I did not document my re-assembly, so please make sure to take full notes and work in a way that makes sense to you so that you can’t forget where certain parts go. You should set it up in such a way that you can’t move on to the next stage until all of the parts have been accounted for for the current stage. That way you won’t miss anything!
I’m glad I had the confidence to just go for it and I hope that this little bit of documentation gives someone else the confidence to do the same. Sorry if I missed any small details, hopefully that gives you enough to go on.
Also had a thought, it may be possible to remove the Mixer Assembly without having to detach the Rear Assembly. Not sure if this is correct size for screws but something like this may work to get underneath and detach the screws from metal casing.
Hi DeeKay
I have denon prime 4 and 2 of my channel faders have snapped,is there any chance you could fix 2 new ones for me? and how much would it be?
Cheers
Ant
I have been putting off changing my channel 1 and 2 faders due to lack of guides or pictures of the process. You helped me to finally commit my G! Process was successful!
The new faders are much better quality, a little stiffer though. My channel 1 fader came off of the board completely and my channel 2 snapped at the base. Im not rough on my equiptment at all, honestly the factory faders on the Prime 4 are quite thin and flimsy. Honestly it took more time to put all the screws back in than it did to replace the faders.
*Make sure to thoroughly document your steps
*Be sure you are at least moderatly skilled with
removing components from circuit boards and
have your soldering skills down pat.
*Highly reccoment to label all screws you are. removing, even more than you feel necessary!
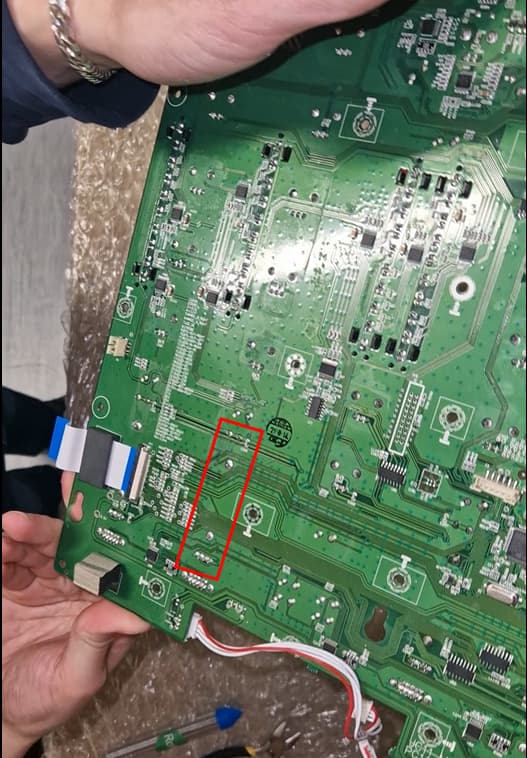
If you look at the image for step 9, it’s located where the red circle is at the top left hand side. If you slowly pry the board up you should be able to tell where the resistance is coming from.
Thanks but, from where you lift it up ? I only have space at the crossfader place and impossible to do it, it seems that the resistance is everywhere and that if I lift the pcb mixer up I will break it… I don’t understand how to do without breaking something
It looks like you have removed everything properly from that side and with there still being resistance I would say that you have not removed the nuts from the other side of board for each of the gain knobs, eq knobs etc? Under each fader knob there is a small plastic nut that needs to be removed. This includes the browser knob, it should have a metal nut that is gold that needs removed. Make sure there’s nothing at that side stopping you from removing the board.
great thread! certainly appreciated the info. I got my unit apart. My issue is the Cross fader contour module On my prime 4… I contacted engine, denon And instrumental parts. At first I was told I could buy the $12 part. I already have the unit Open I’m not willing to package it up and send it to a repair center when the contour knob is obviously broken. Then the parts supplier that Denon sent me to Said they didn’t have the part I would have to buy the whole PCB. Which is way more than $12.
The contour knob says alpha 1b10k I’ve seen them on Alibaba five for $10. I don’t know if that’s a good deal or if anybody knows of a more reputable source for this. I do some soldering and electronics. I also have a local electronics repair shop. They don’t have the part but they said they would take the old one off and put the new one on As a courtesy
You can find the potentiometers on Aliexpress for around €2, I recommend that you buy them from the Alps brand. They work perfectly. Once disassembled, I also recommend that you change the Play, Cue, Cue, and Sync microswitches, the buttons you use the most. Because it is hell to completely disassemble the table
Hi DeeKay01
Would you be able to upload a video of this somehow? Ive asked around everywhere to have this done on my channel 1 fader and everyone is estimating 2-3 weeks repair and return. Sooooo… gonna try and do it myself but really need the knowhow. Cheers and great work on the description
Thank you for posting this! Very informative and helpful. I’m curious if there are any channel faders that are compatible with the Prime 4 that are better quality then the stock ones?