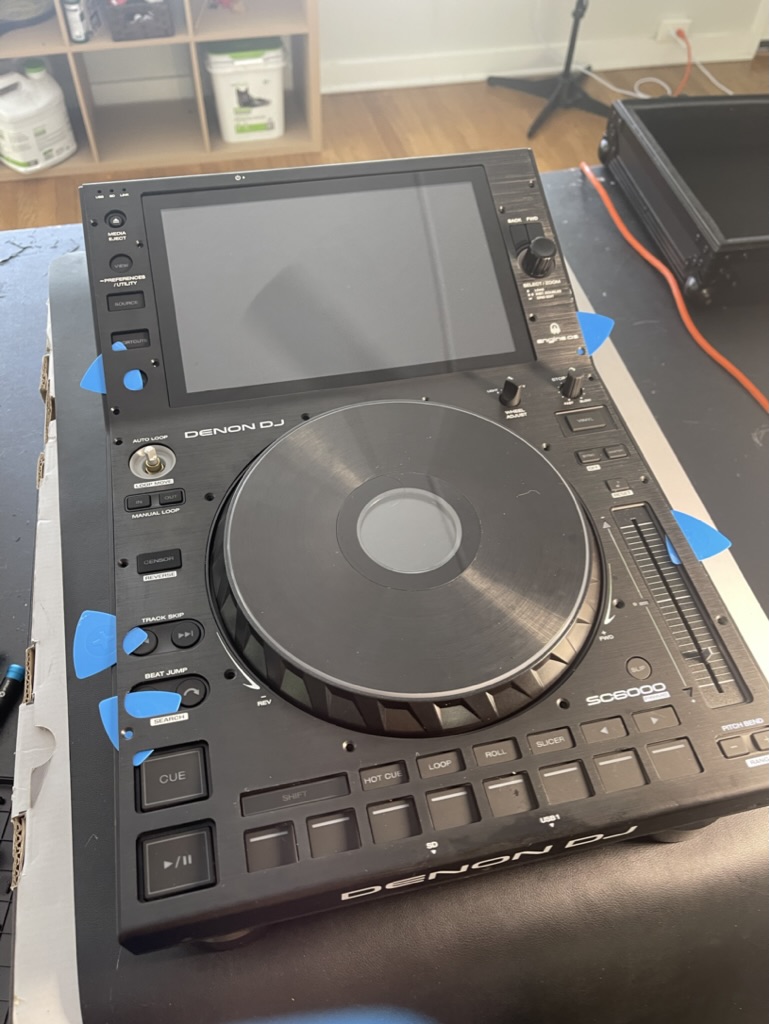
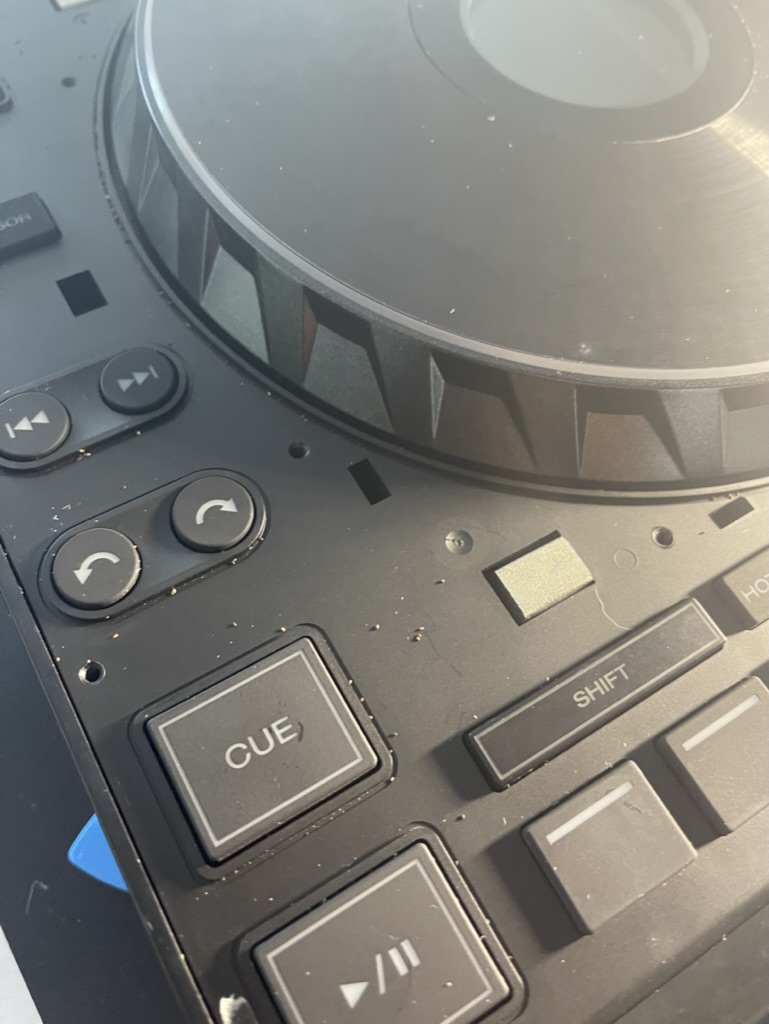
Hey folks, did a gig last week at a friends cottage and I didn’t realize until the end of the evening that some dust and gunk from the ceiling or something got into one of my SC6000’s and now the “shift” button, tempo slider, and the wheel aren’t as smooth as they usually do/feel really sticky. I tried vacuuming out the deck and using moderate amounts of dust off with no success.
This then led me down the rabbit hole of taking off the entire front plate and just cleaning it out like any electronic, or sticky keyboard (yep i’m aware this might void warranty etc). Most of it was trial and error because I couldn’t find a SINGLE youtube video or online guide on how to disassemble the sc6000. Based on this experience I might even make a personal guide/post of my experience to help some of you out.
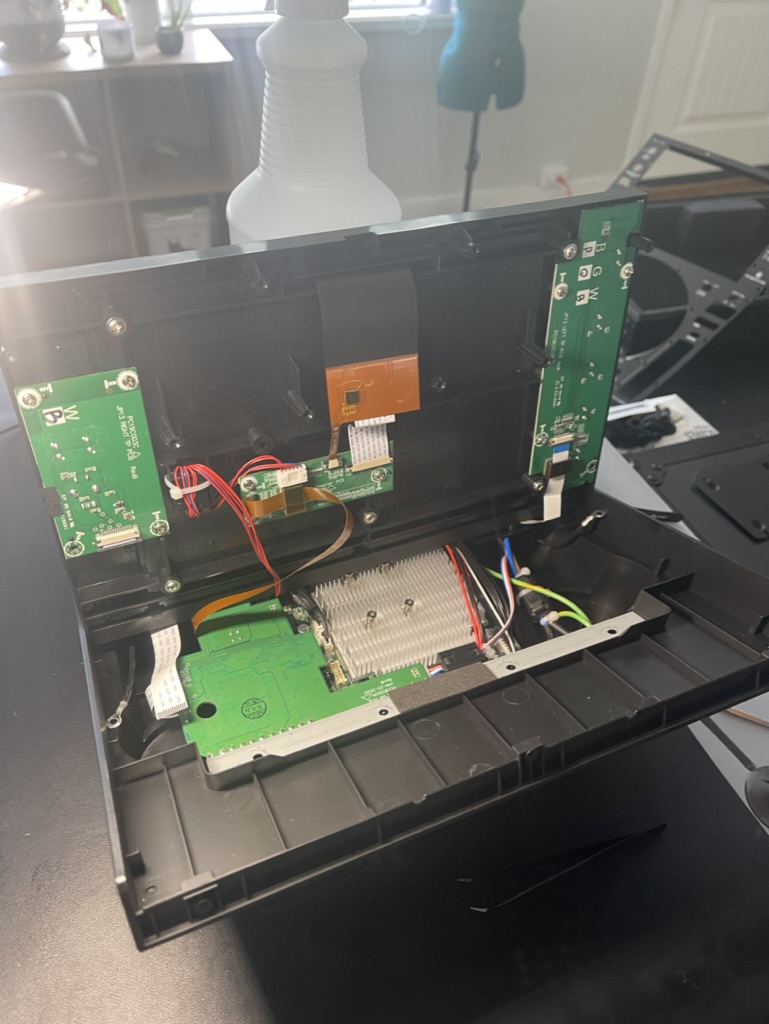
So far I was only able to get to the point of taking off the metal plate and am stuck here. I thought it was the plastic clips being held down to the PCB boards down below, but couldn’t find a proper solution without it feeling like i’d break something. Any advice would be greatly appreciated!
even took off the top plate thinking there was a clasp or something holding the bottom portion but no luck
NOTE* if you attempt this and take off the two ribbon cables and two black (ground wires(?)) they are a PAIN in the ass to put back together. Do not attempt unless you’ve got the right tools. I spent like two hours just trying to get the left ribbon connected again bc of the short distance & need to get a small set of right angle screwdrivers in order to put another screw back in to mount the PCB back on.
I don’t have any help for you but I have been trying to get the group to start posting guides or at least steps of what you did to try and build some kind of tear down guide. I think iFixit will host it if we need a reliable place to post them, iFixit is pro repair and would support us even if Denon doesn’t
Could have made a video of it disassembled, or posted more pictures! Because not only me but many here are certainly curious to see what he is like internally! As you said, there are no videos or pictures of this on the internet!
If time permits I think i’ll definitely make a video. Had to throw it all back together that same day unfortunately because I had some gigs that weekend. The platter and some of the buttons still feel slightly crunchy so need to dive back into it. Will most likely update here in this thread!
Hi Hunter, i hope you got it all sorted mate!
As you’ve taken it apart, can you tell me if it’s easy to get just to the platter? do i need to take the face plate off?
When i backspin on the lightest tension setting, it grinds to a halt quickly, but when i hold the player upside down and spin it’s smooth like my other SC6000. So i’m thinking / hoping it’s just a loose nut i can tighten up underneath?
Hi all. Guess Hunter_DeTurk no longer requires disassembling. I was need to replace play switch and search for “how to disassemble Denon SC6000?” and find this topic. Well, i do.
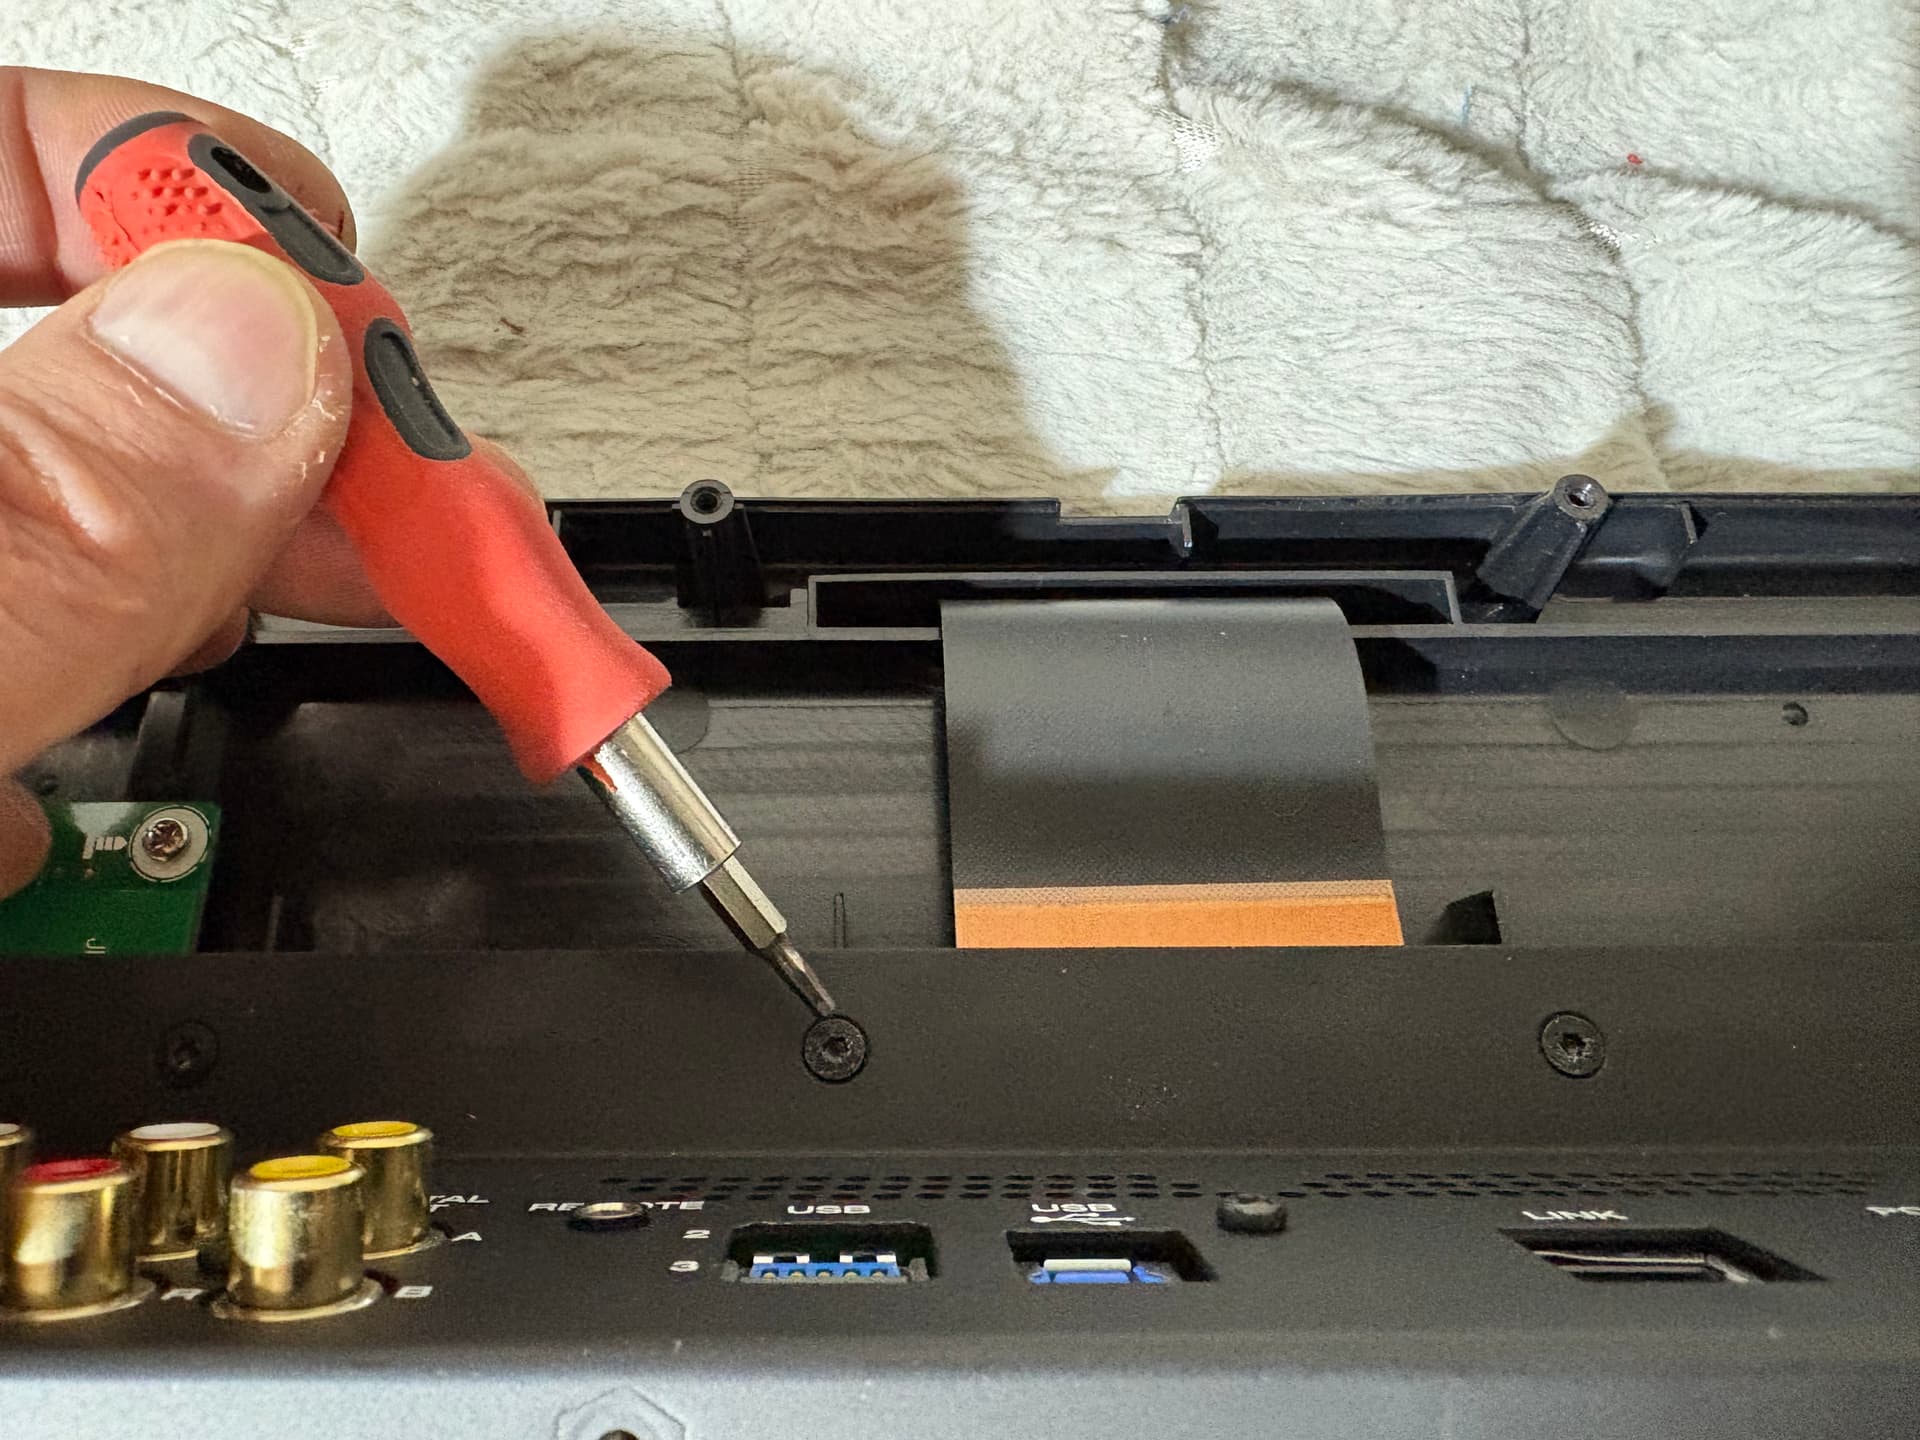
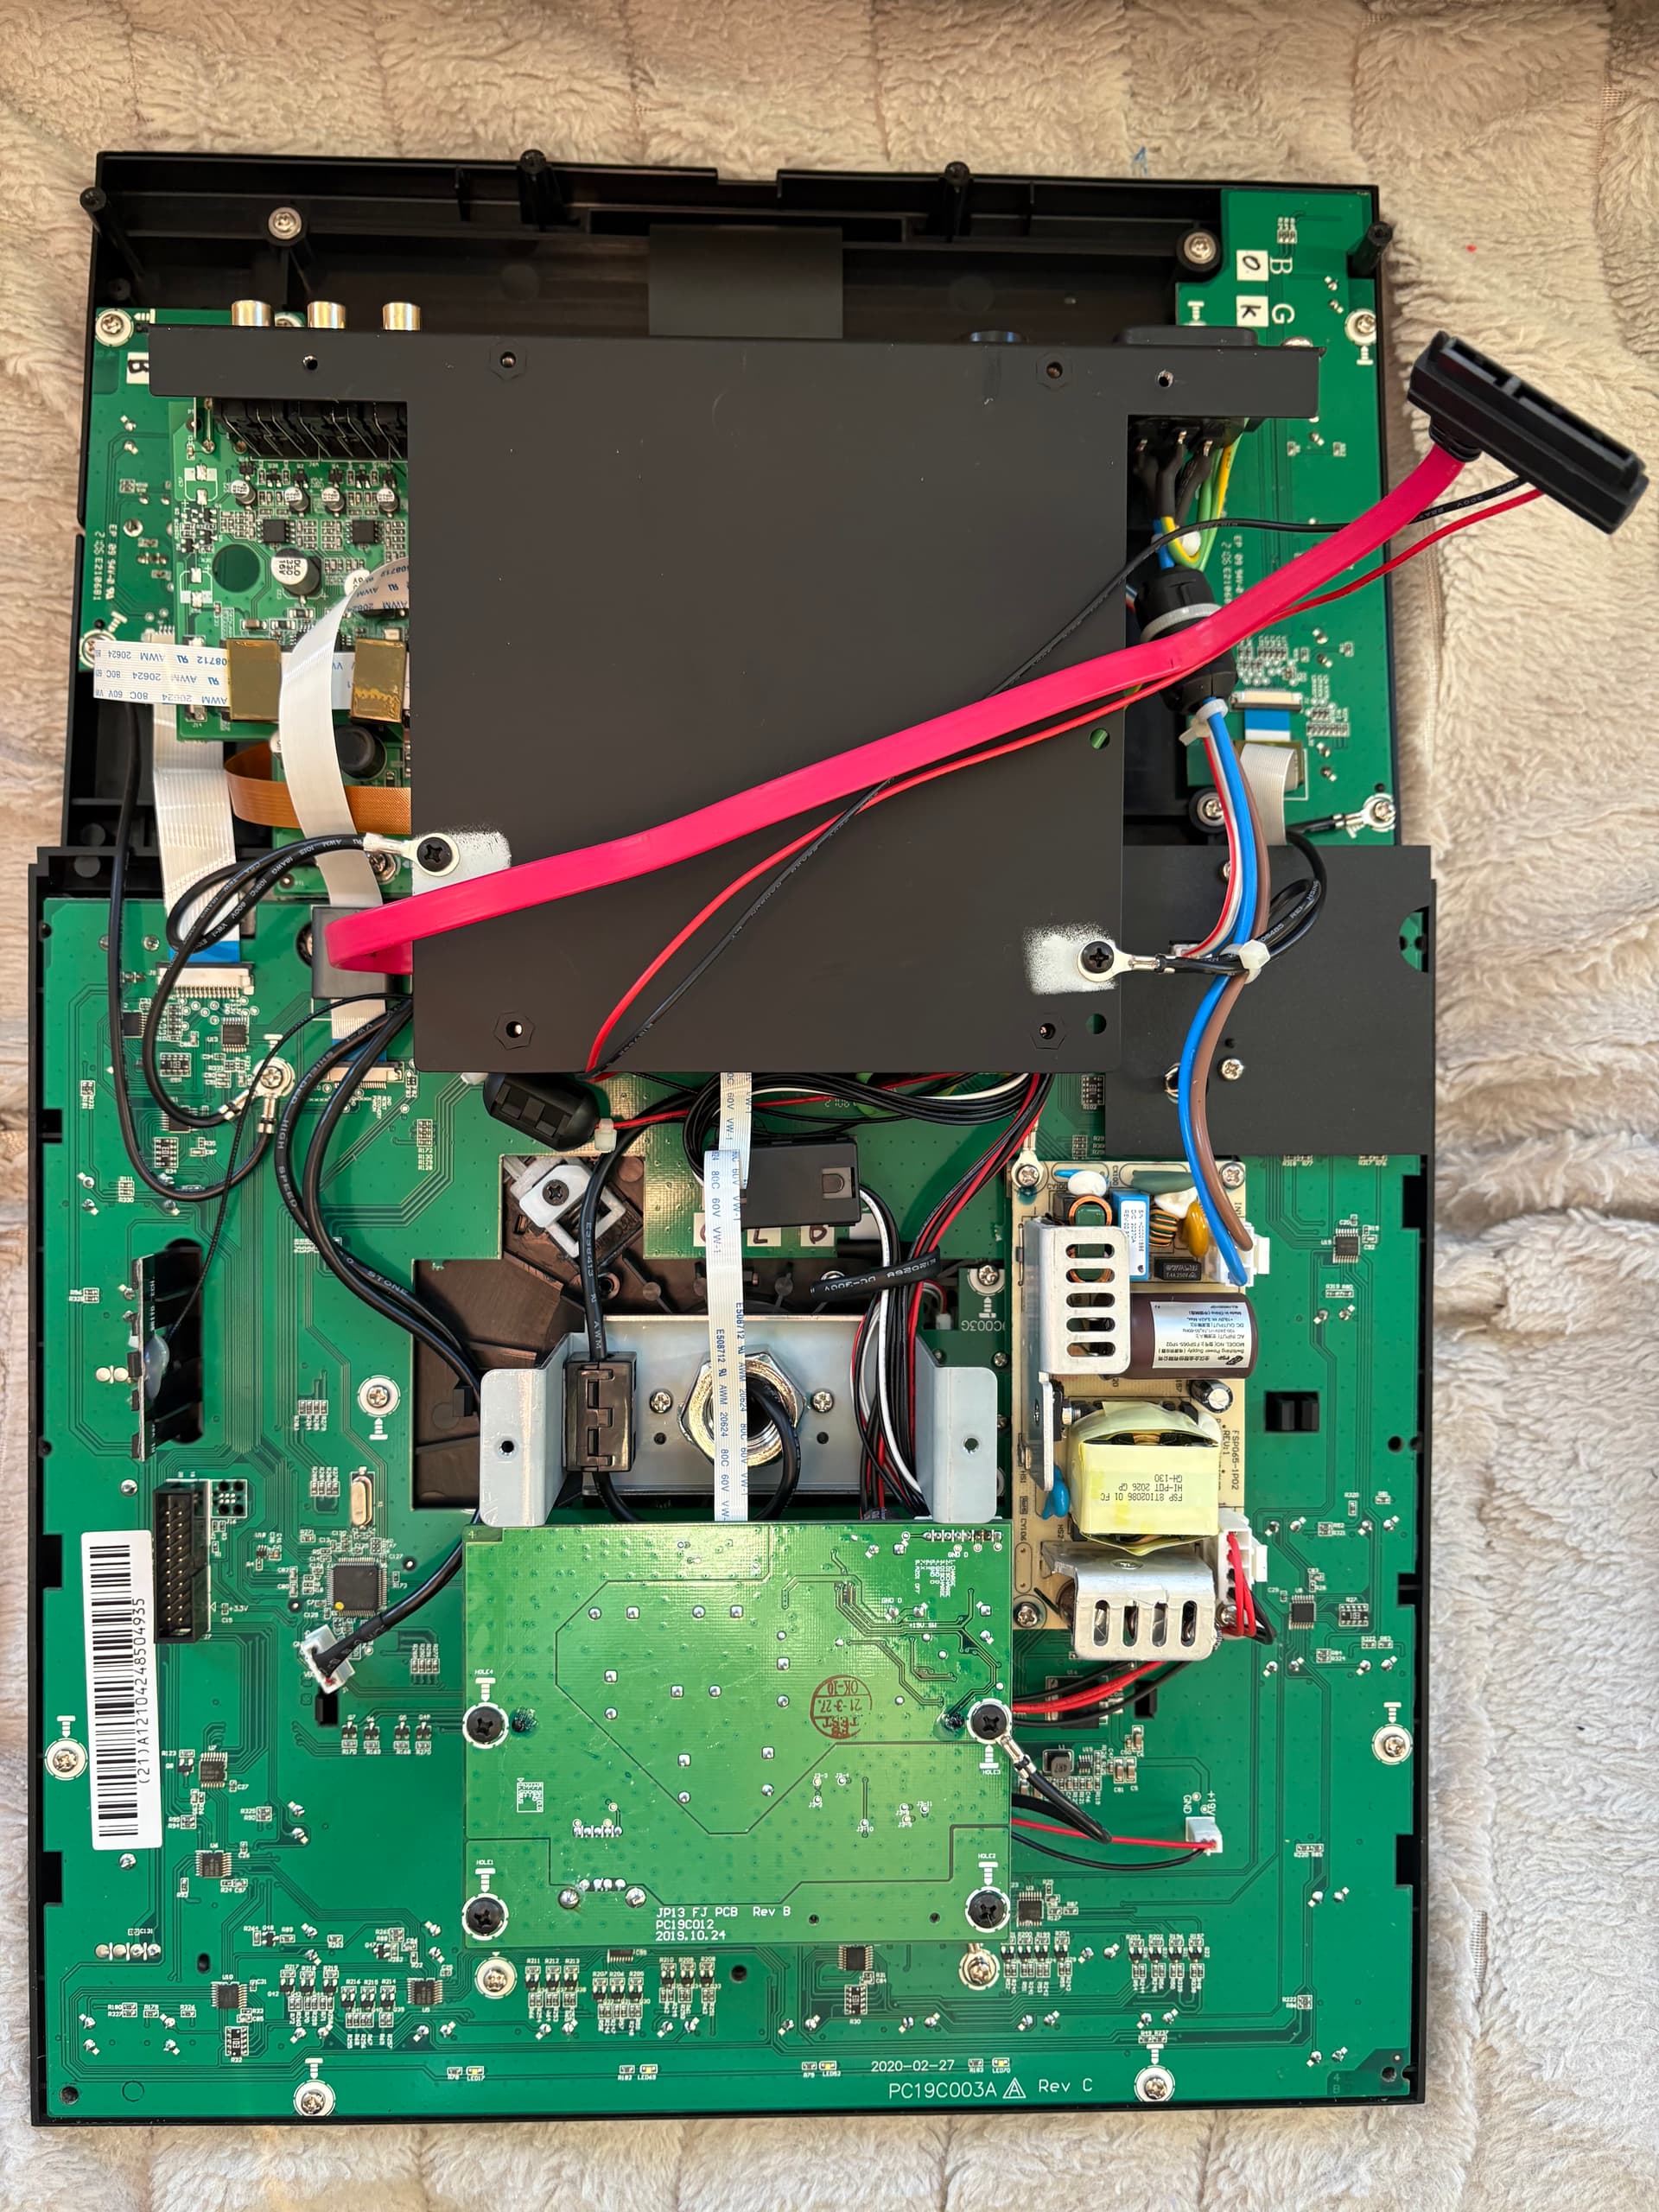
You must unscrew all the screws on the back side except these four. Open the SSD slot, you will have to push the drive connector through a gap in the cover when removing it, I found this easier than disconnecting the cables from the inside.
You not need to remove any screws from plate with connectors.
You not need to remove metal front plate like Hunter_DeTurk do. You not need to took off the top plate like Hunter_DeTurk do. You only need to remove six screws from metal front plate on the front and back ends near the Denon logos, three on each end - on the end of the screen and above the SD card slot.
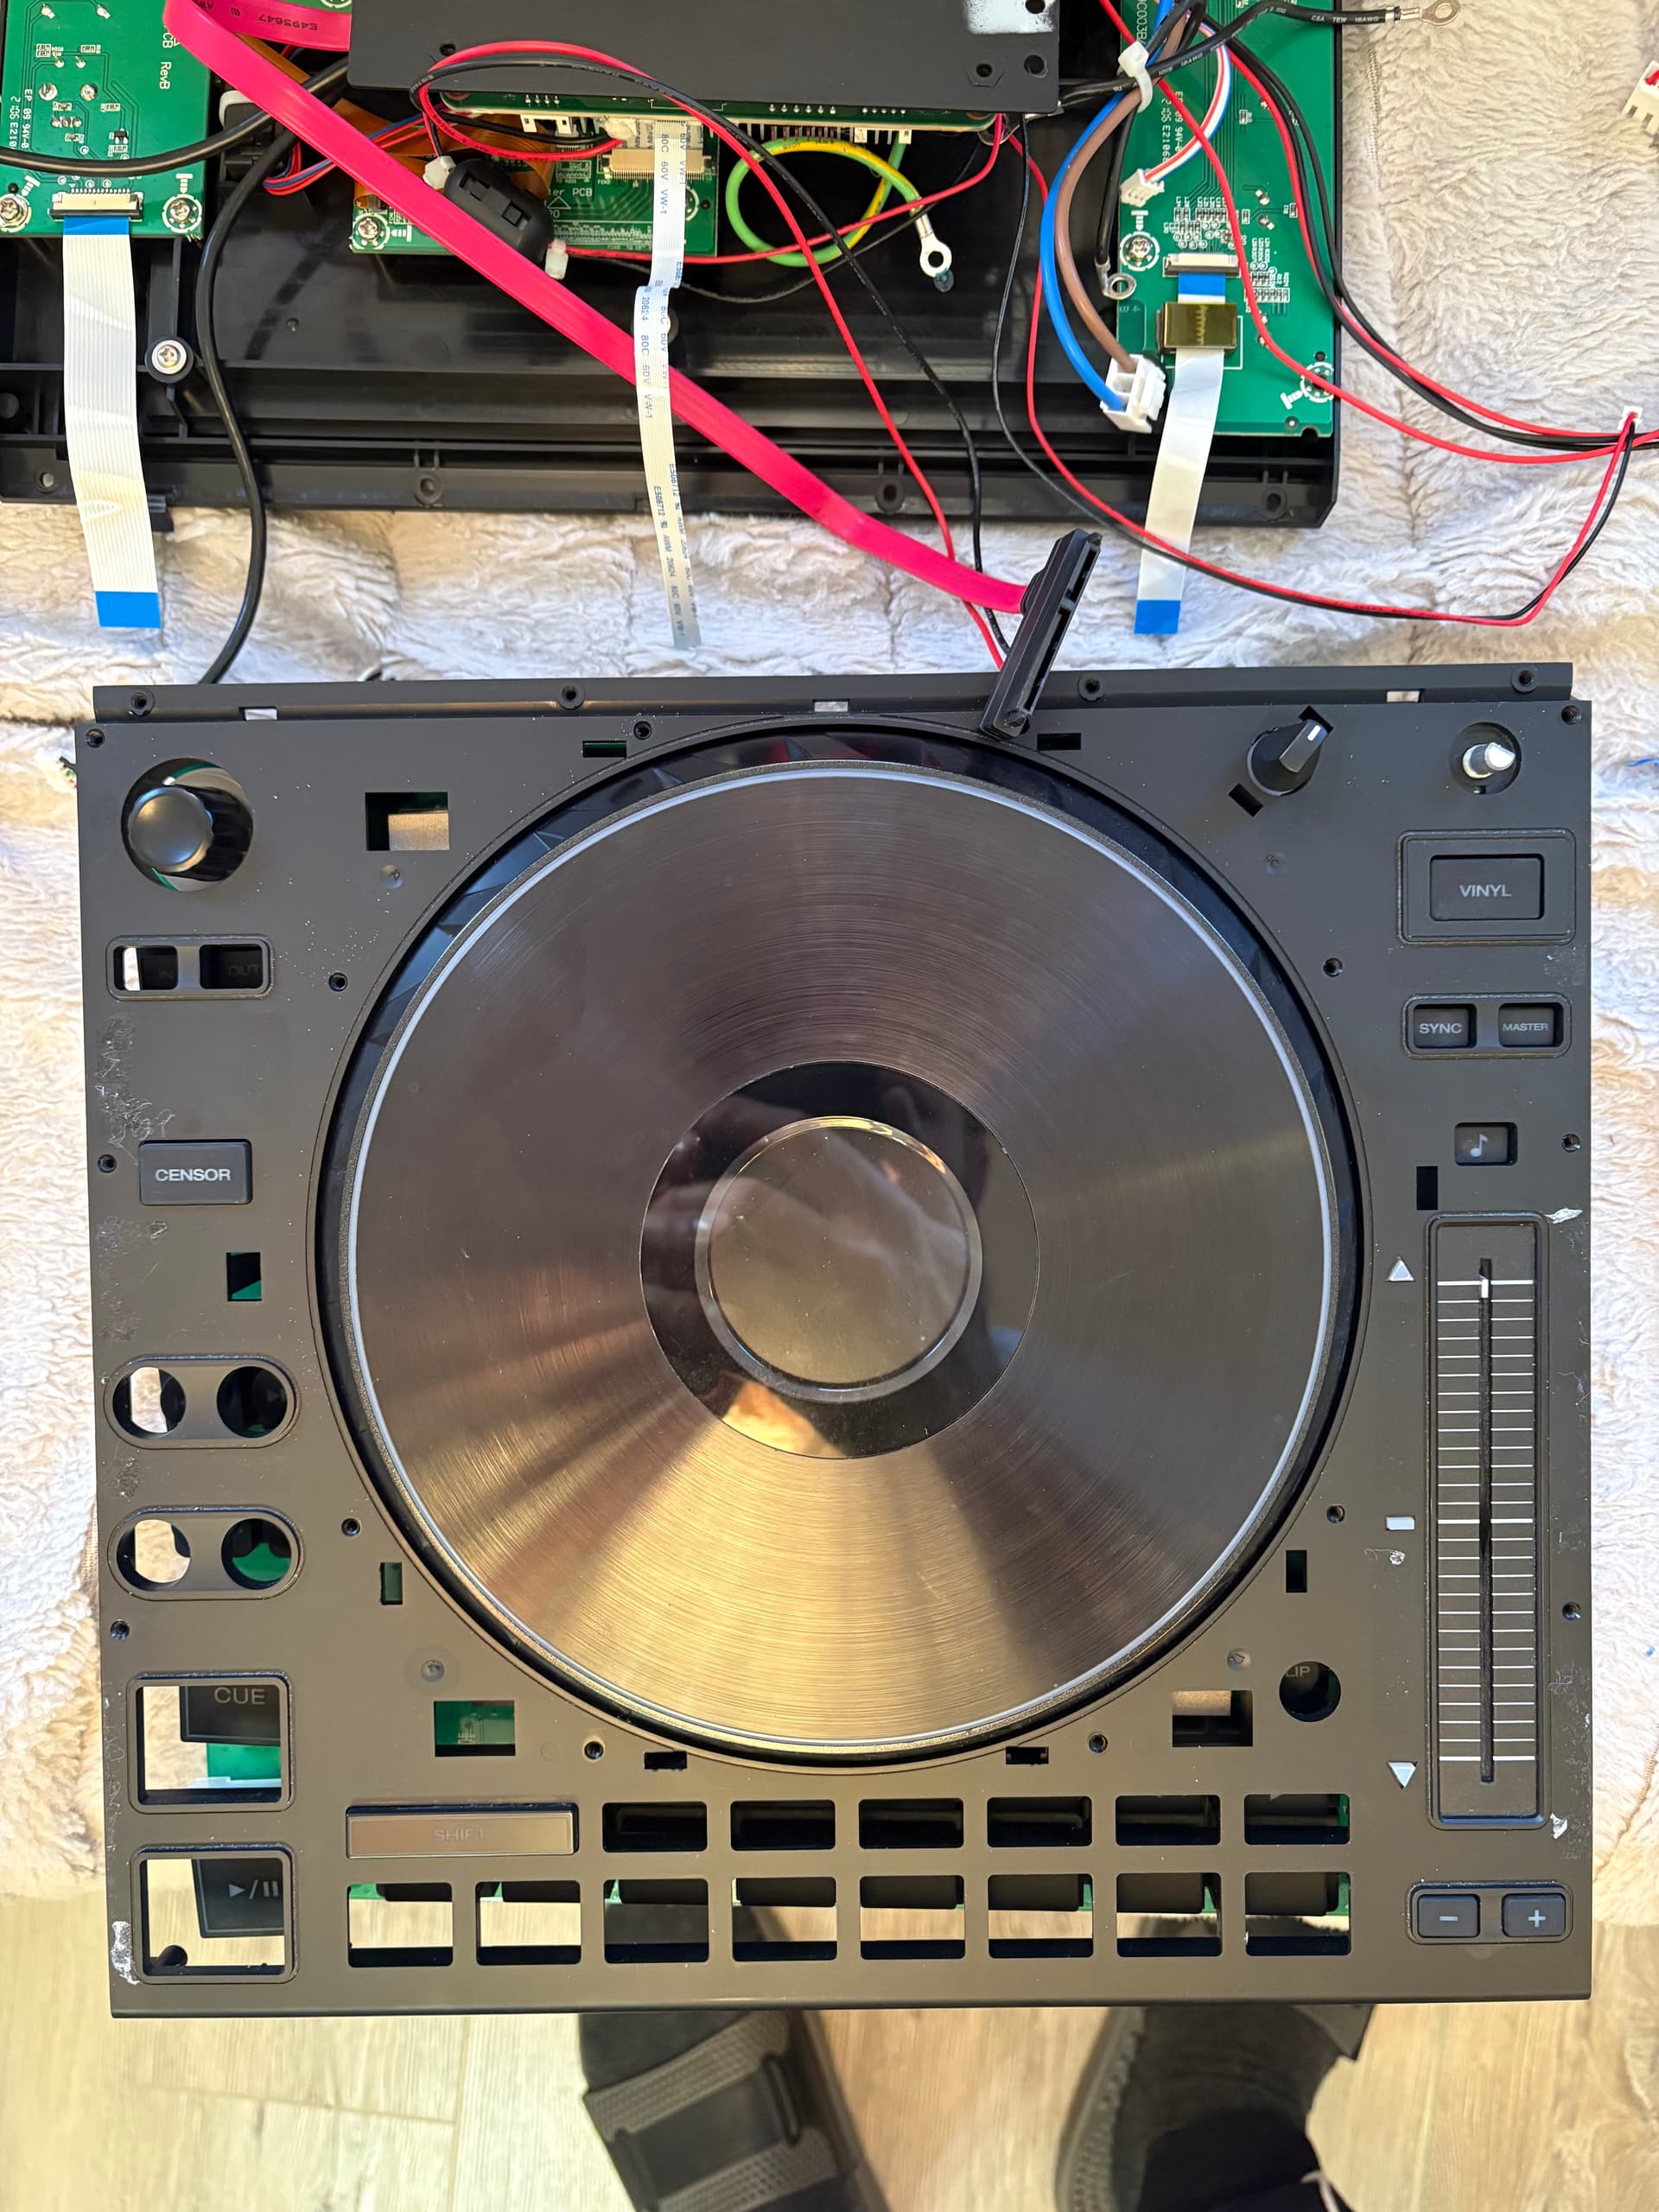
Then you must turn the device screen down. Be sure to put something soft between the surface the device is lying on and the bend between the display and the jog wheel. When you remove plastic case with legs the curved display panel may break away from the rest of the panel as it tries to straighten itself out.
Pull up the plastic case with legs. You have disassembled the case:
In this photo you can see that I have disconnected the part of the case with the screen from the part of the case with the jog wheel. To do this, you need to remove the metal front plate like Hunter_DeTurk do. I did this too, but later I came to the conclusion that this should not be done. This is the most difficult operation and you can easily damage metal front plate. In addition, the panel not removed will provide additional strength to the connection between the part of the case with the screen and the part of the case with the jog wheel after you will remove large lower plastic case. You will be able to remove the main board without disconnecting the display housing. Front metal plate it’s just a sticker or skin, there’s nothing useful or interfering with disassembly underneath. You should only disconnect it if you really need to remove the half case with the display as you see in my photo:
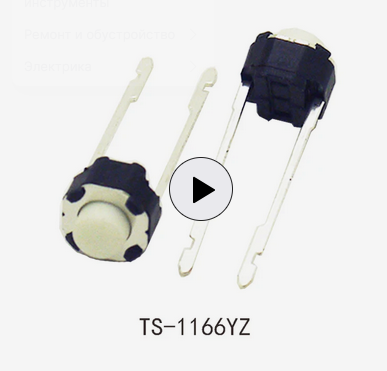
This is 6x6x5 (WxDxH) millimeter switch with 2 legs.
I had 6x6x4,3 mm switches which i was buy for Denon MCX8000, but this switches weren’t tall enough. So I cheated and swapped the censor (which i never used) and play switches.
I have been using a soldering iron when needed for about 35 years. My level is if the button doesn’t work, it needs to be replaced. If these are more complex items like electronic components, I will only be able to find and replace the faulty ones if there is a description of the solution to the problem made by other people.
Perhaps this is what is installed at the factory. This ALPS SKRGADD010 looks identical to the one installed on the main board. The appearance of the button I wrote above is different, although the dimensions are the same.
Which screws do you have to remove in order to reach the Play/Pause switch to replace it ? All screws that hold the mainboard and structures above? also how do you remove this white connectors ?